
In August of 2014, I bought a beautiful piece of property high on a gravelly hill with a terrific view on San Juan Island. It was obvious that the garden had once been loved….lots of specimen plants and hummingbird attractor plants….but the garden had fallen into hard times and been terribly neglected. I set about to transform it. I figure that “She ain’t dead yet and she’s still got some livin’ to do.” My property and house were a metaphor for my own life. Slowly I weed wacked and humped compost into beds, put in drip irrigation, pruned trees and severely trimmed back shrubs. It started paying off with plentiful fruit and flowers.
But my veggie garden raised beds, which I discovered hidden beneath the chest high field grass, weren’t thriving. More soil amendment, more water….but the soil was just not staying moist. The combination of being on top of a gravel mountain and the salty wind and the unobstructed sunny southern sky was just too much for regular raised beds.
Some internet research and I discovered keyhole gardens in Africa. They are essentially a high round raised bed with a built in compost basket in the center. The compost feeds the plants without having to be moved. The raised bed is filled with layers of brown and green material just as in a regular compost pile. (3 parts brown to 1 part green). Keyhole gardens naturally retail moisture and are a permaculture solution to drought or harsh conditions.
A bit of research on the internet will provide you with detailed plans and info about how to fill them and plant. Here are 2 of the first videos I watched.
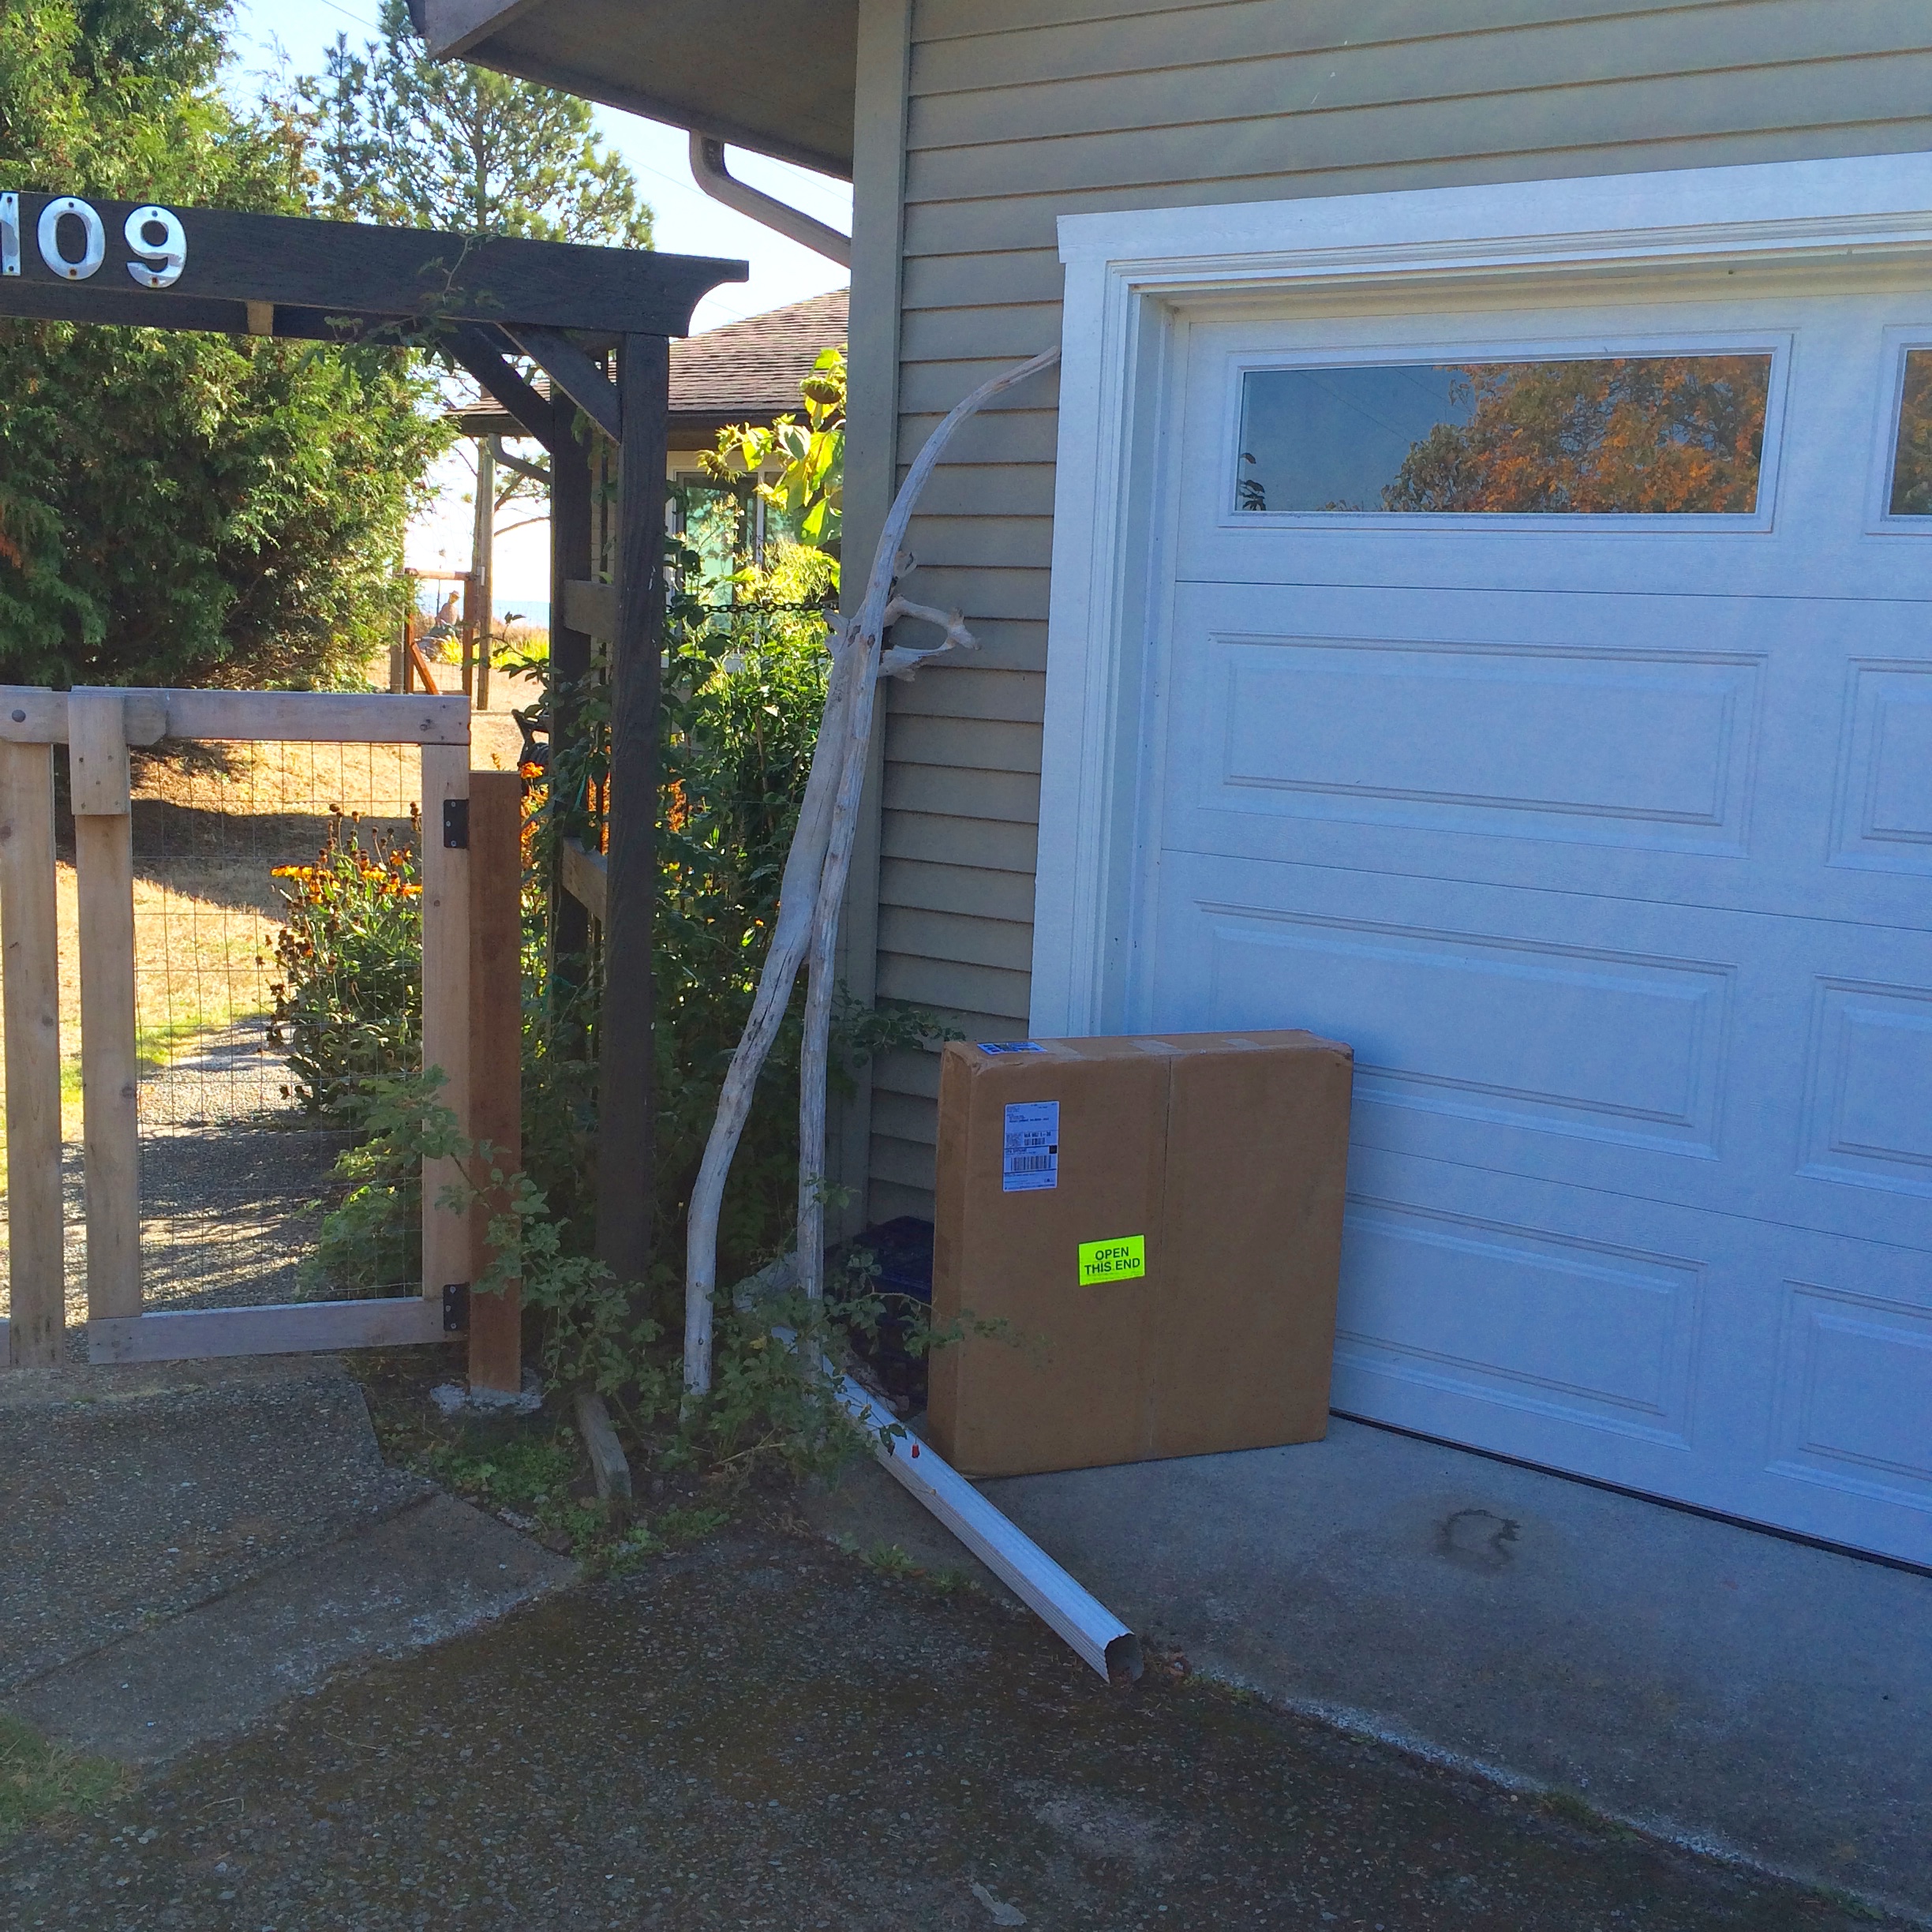
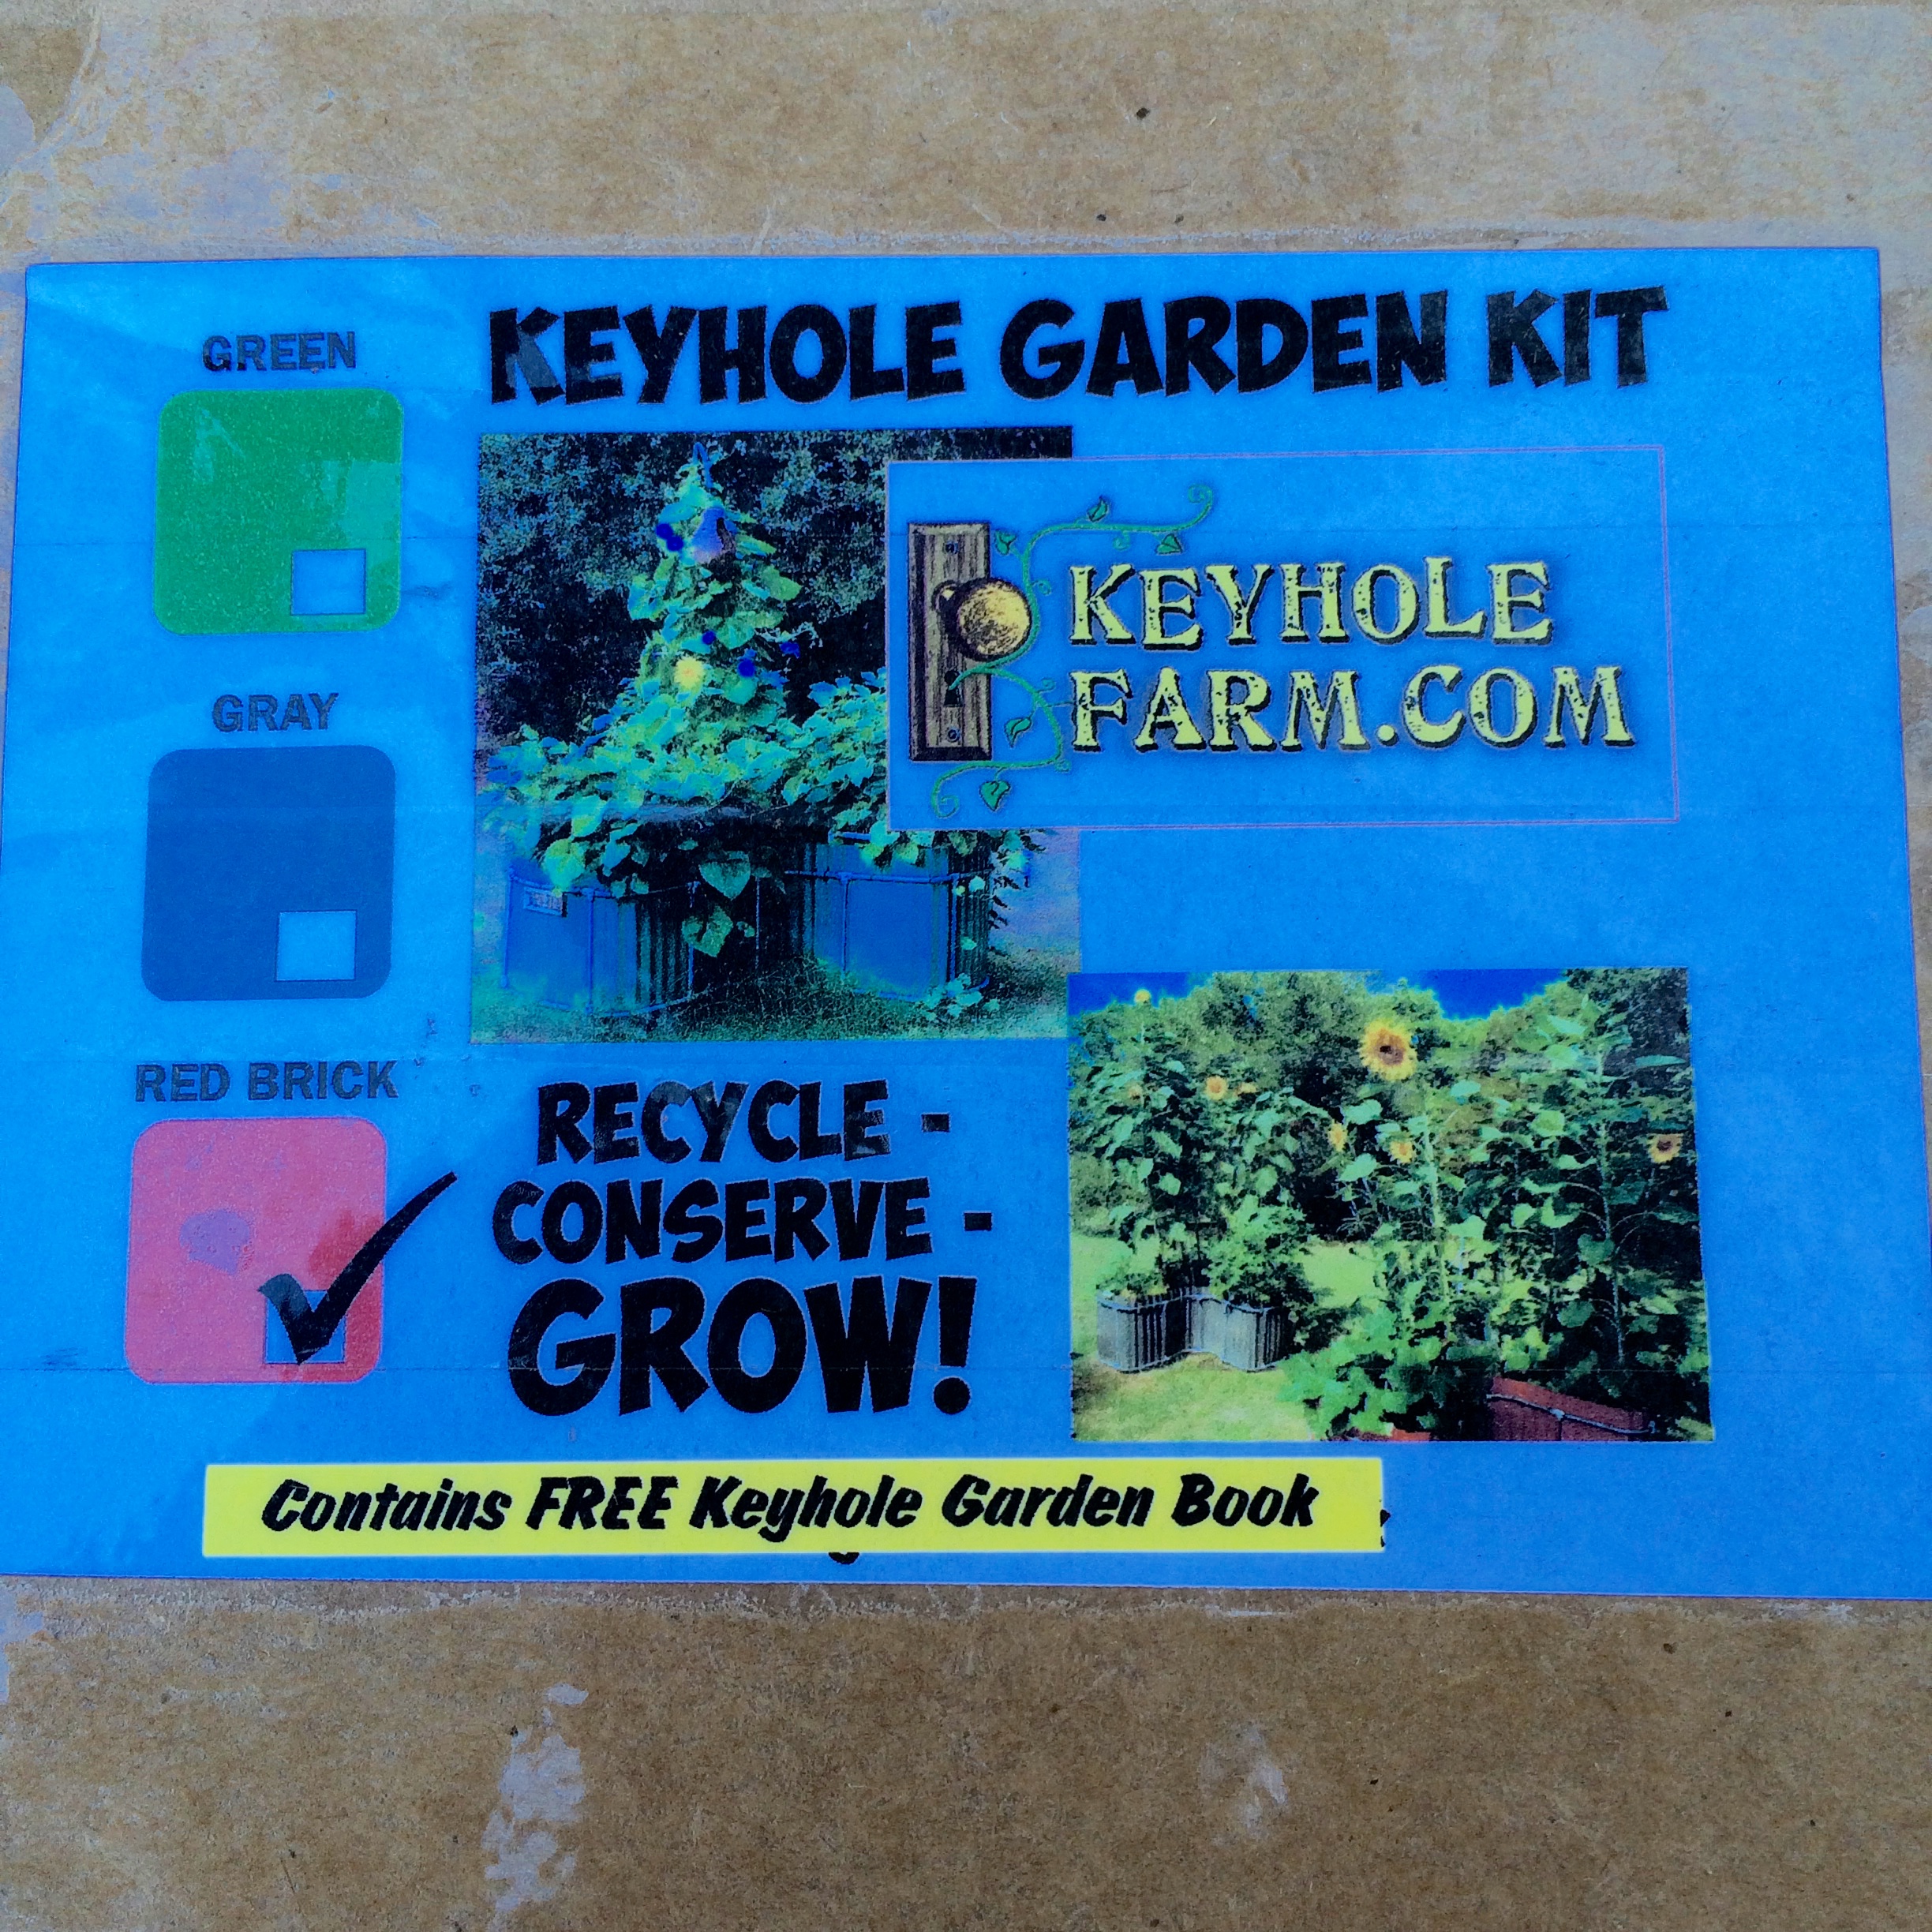
I love the look of the natural stone keyhole gardens….and I have lots of stones in my dirt…but my stones are round and won’t stack. I saw photos of keyhole gardens made from cinderblocks and landscaping stones but I didn’t find them attractive …..plus because I would have to take a ferry to the mainland to get them, the cost and hassle wasn’t worth it. Then I came across the keyhole garden kits from www.keyholefarms.com. The cost was around $300 including shipping to my island. I ordered one and set about assembling it, filling it with layers of compost material. It was so easy and fun and I had lots more plant material that I cleaned up from the garden beds so I bought a 2nd kit right away. I figure that the plentiful rain in the Pacific Northwest winters will get the composted layers going so I will be ready to plant both gardens in the spring. So here is my pictorial essay on assembling and filling my keyhole garden.
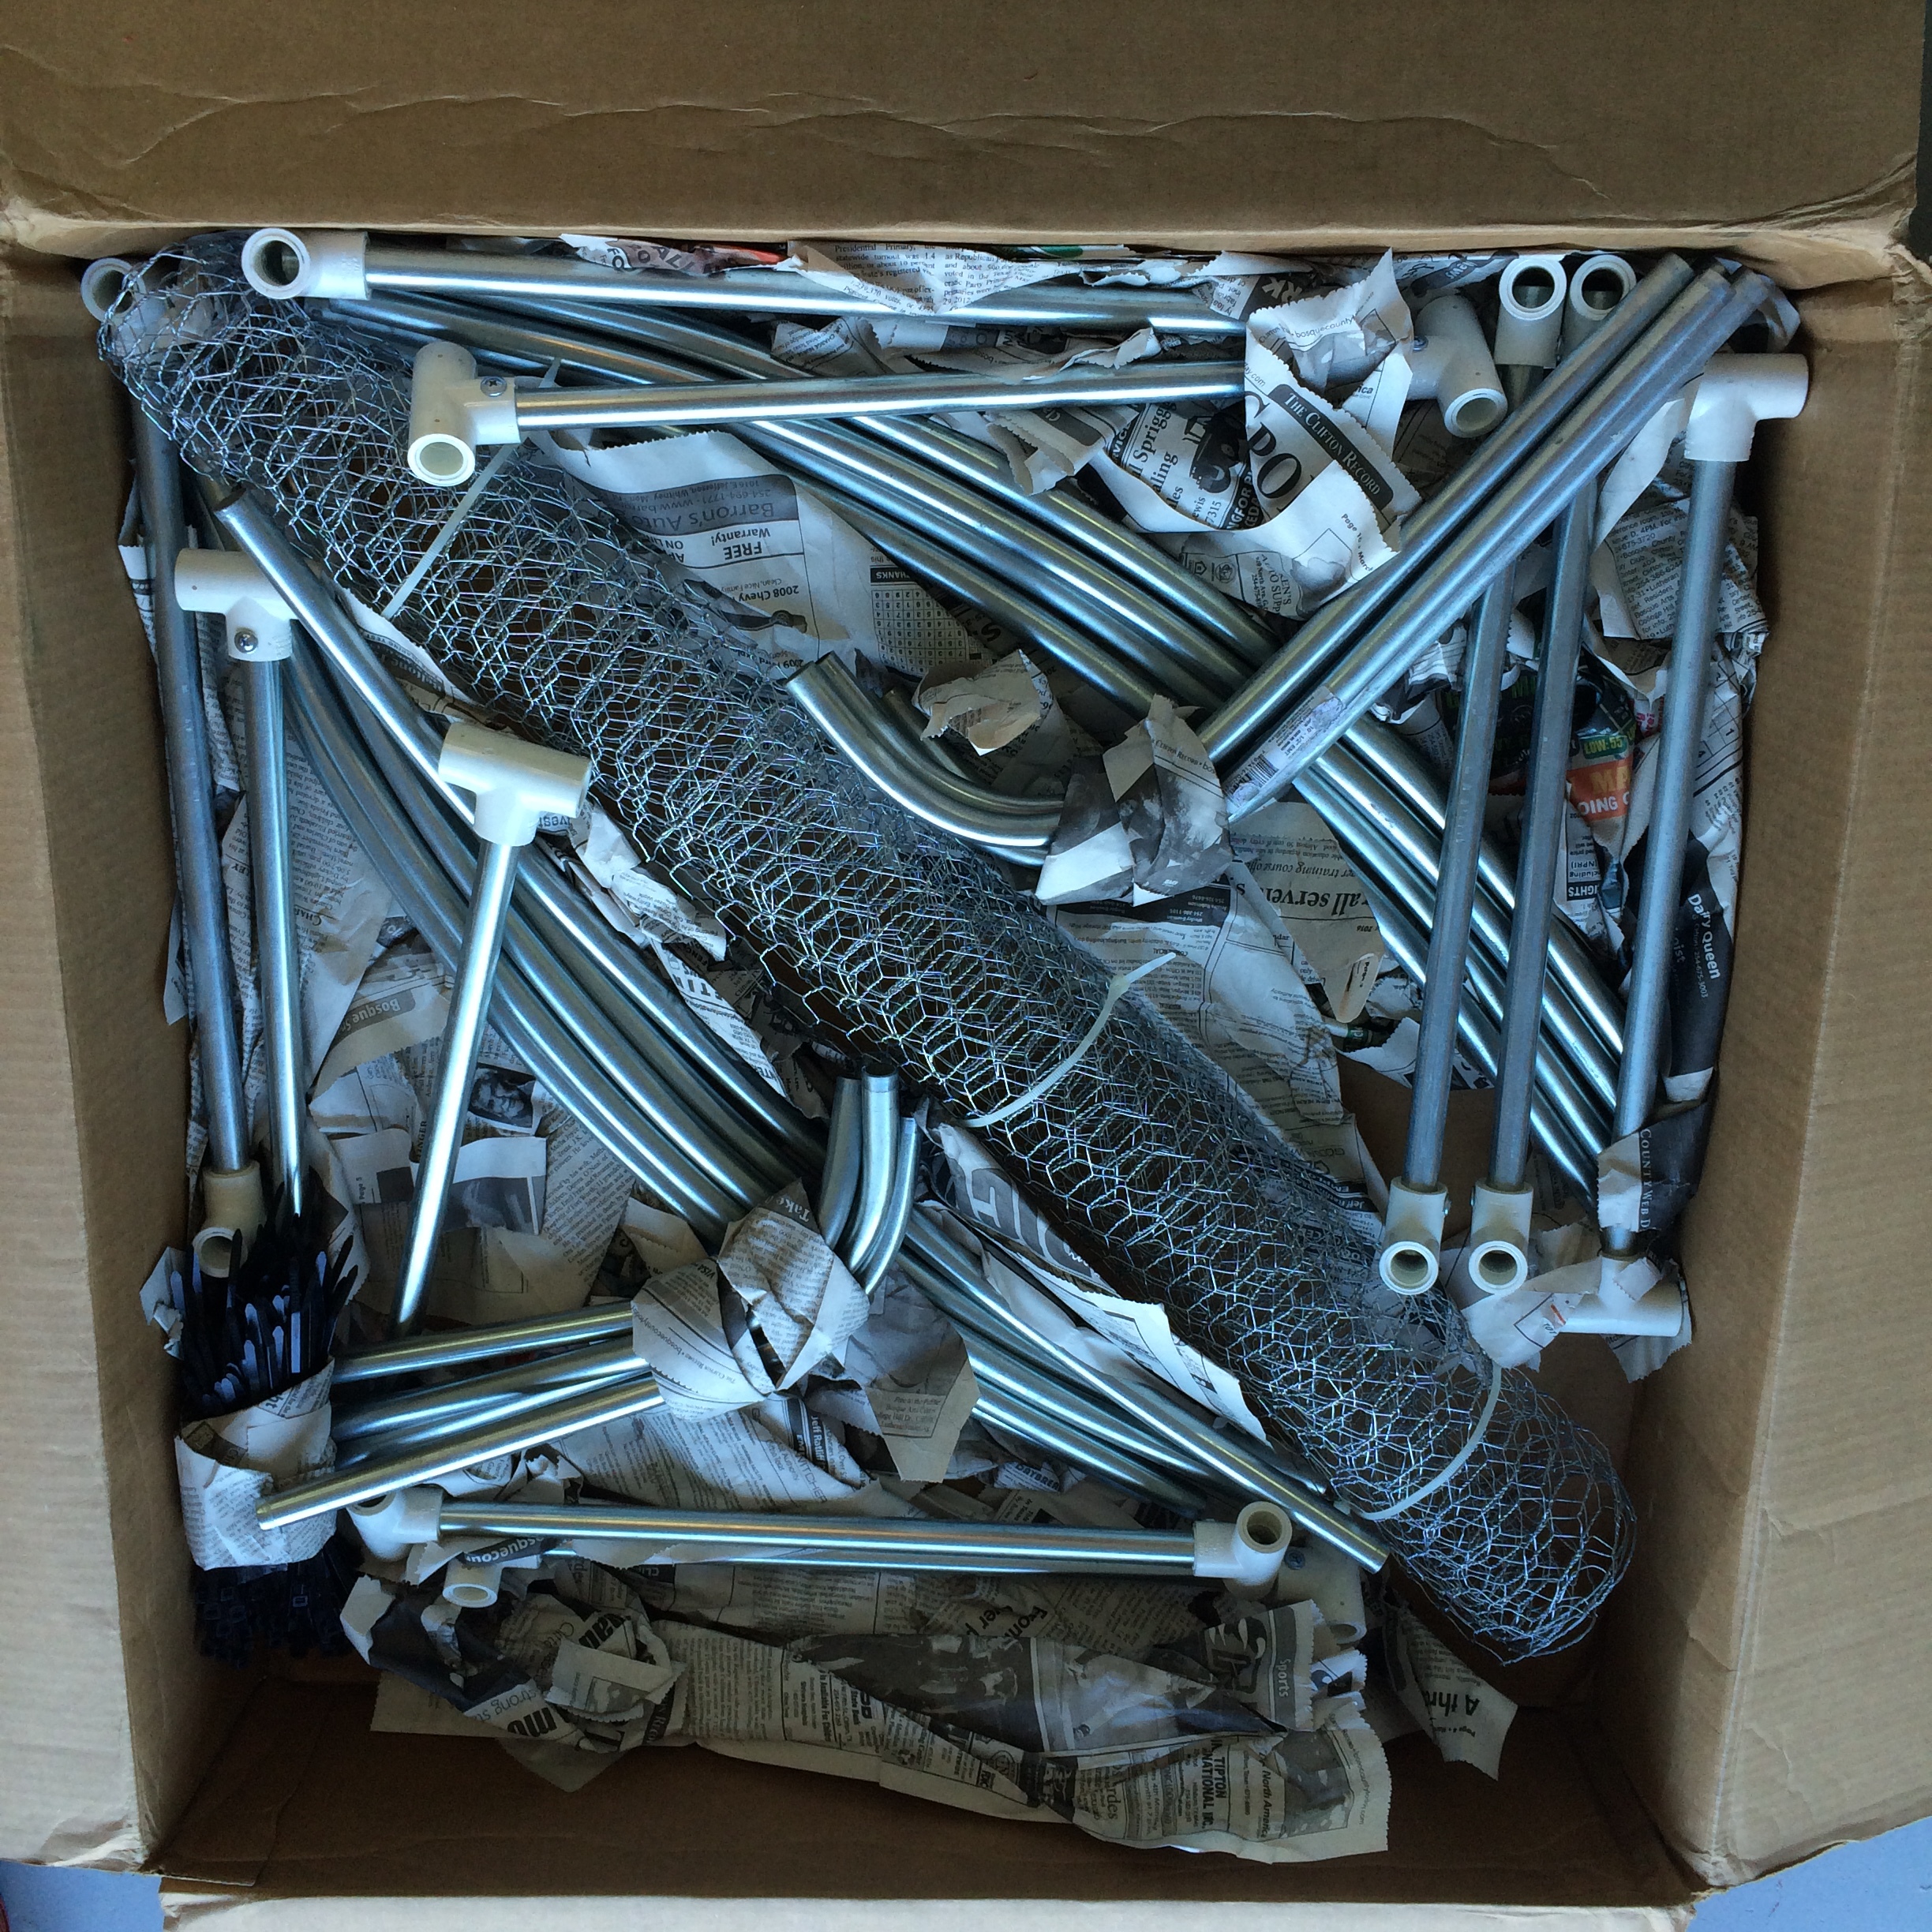
The kit arrives. It is much smaller and lighter weight than I imagined.

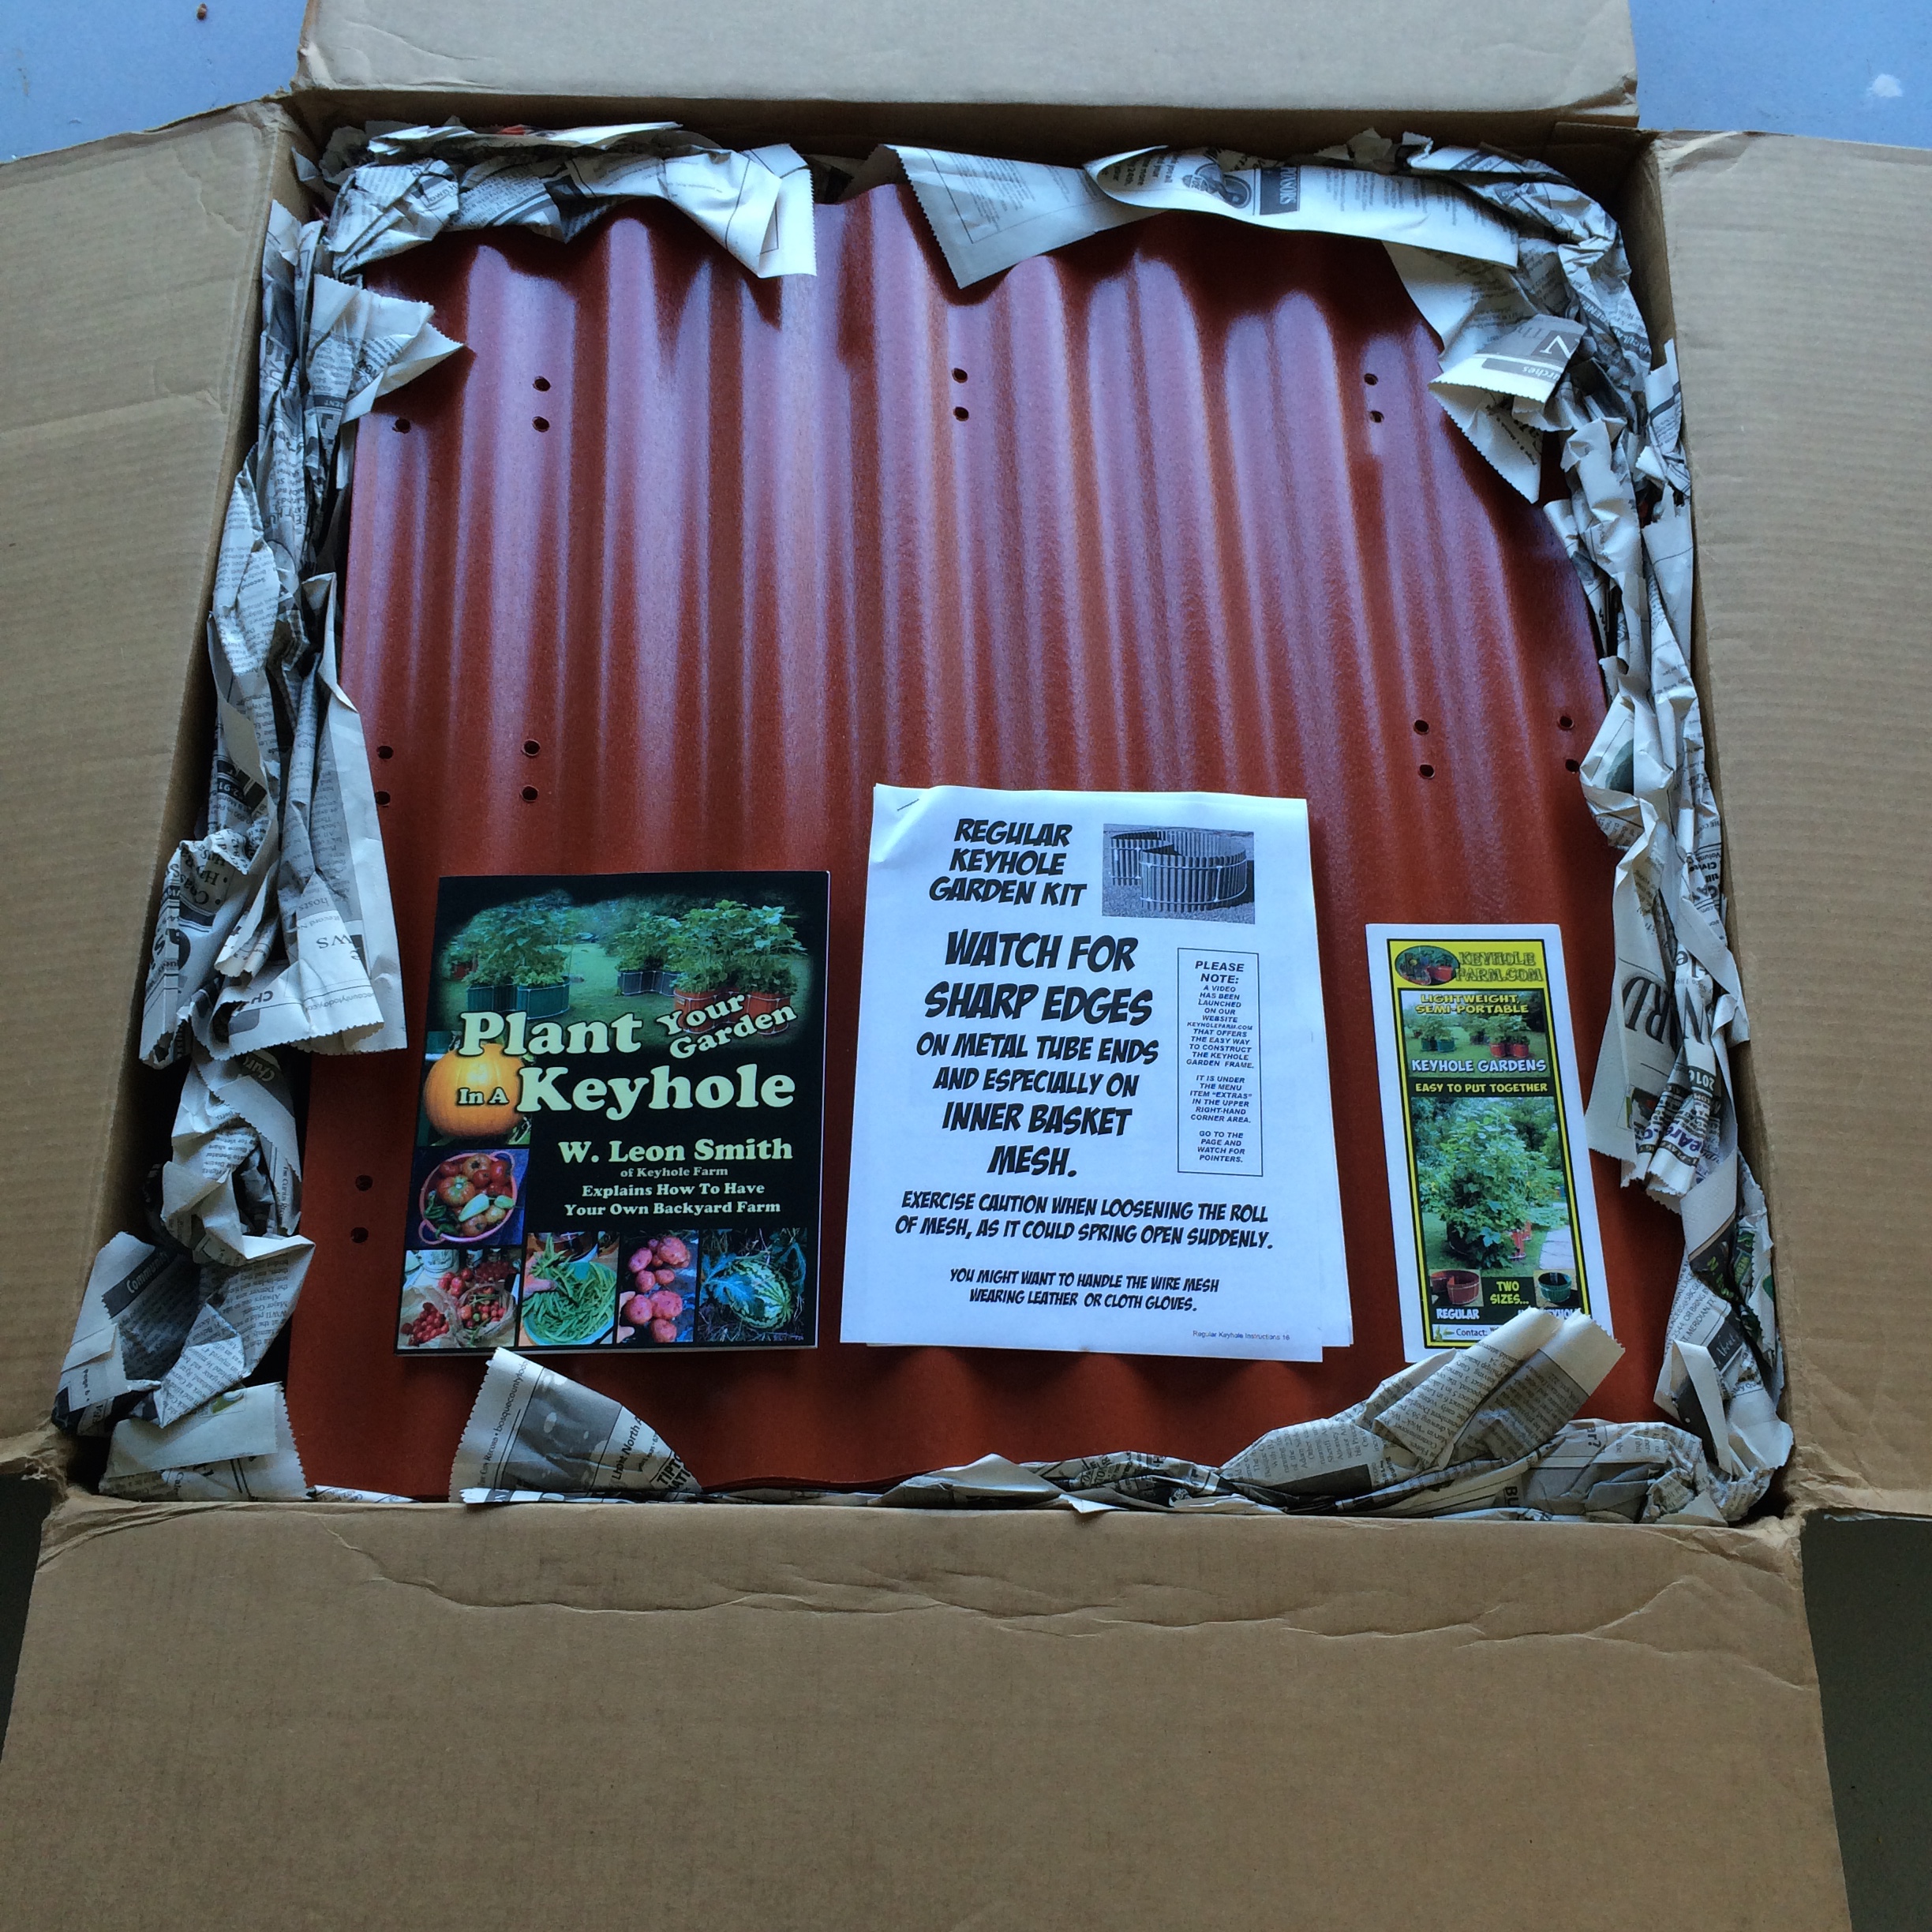
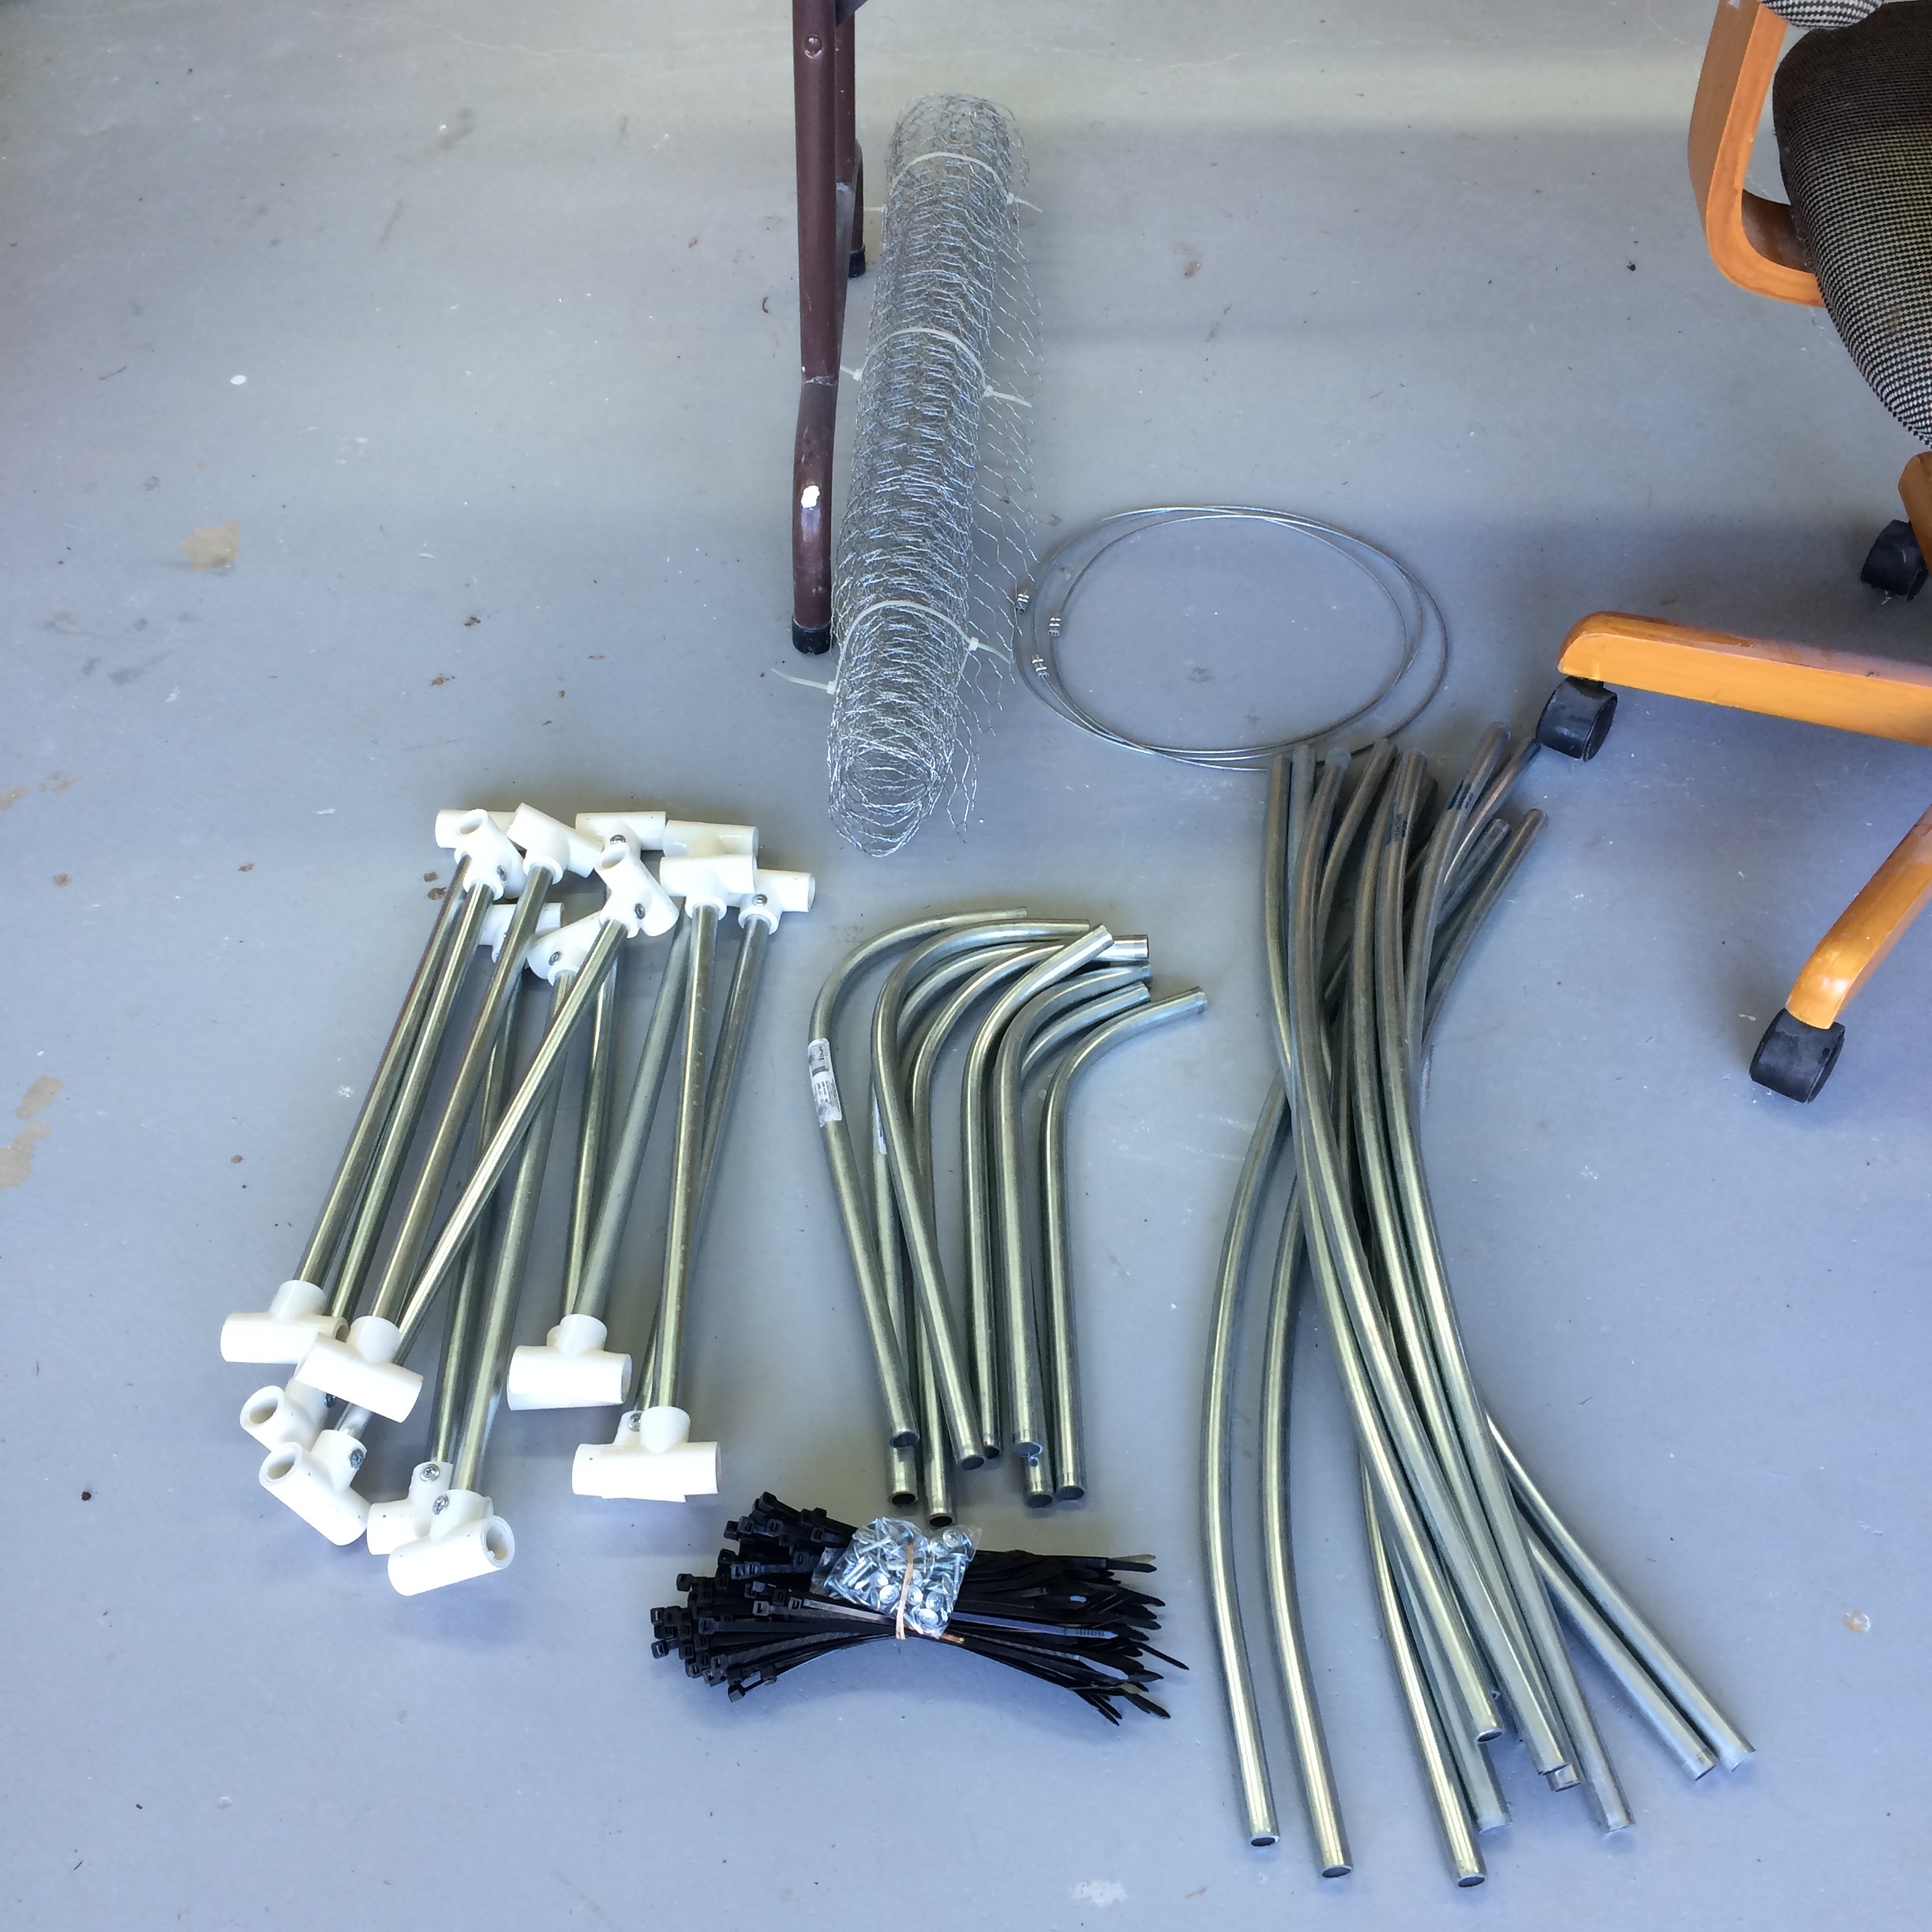
The kit contained the parts and ample screws and zip ties. The instructions are good and they also have a video on youtube that was very helpful. Assembly was fairly easy. I had to borrow an impact driver from my neighbor - Ron Lehman. My regular screw driver couldn't power the tap screws into the metal frame.
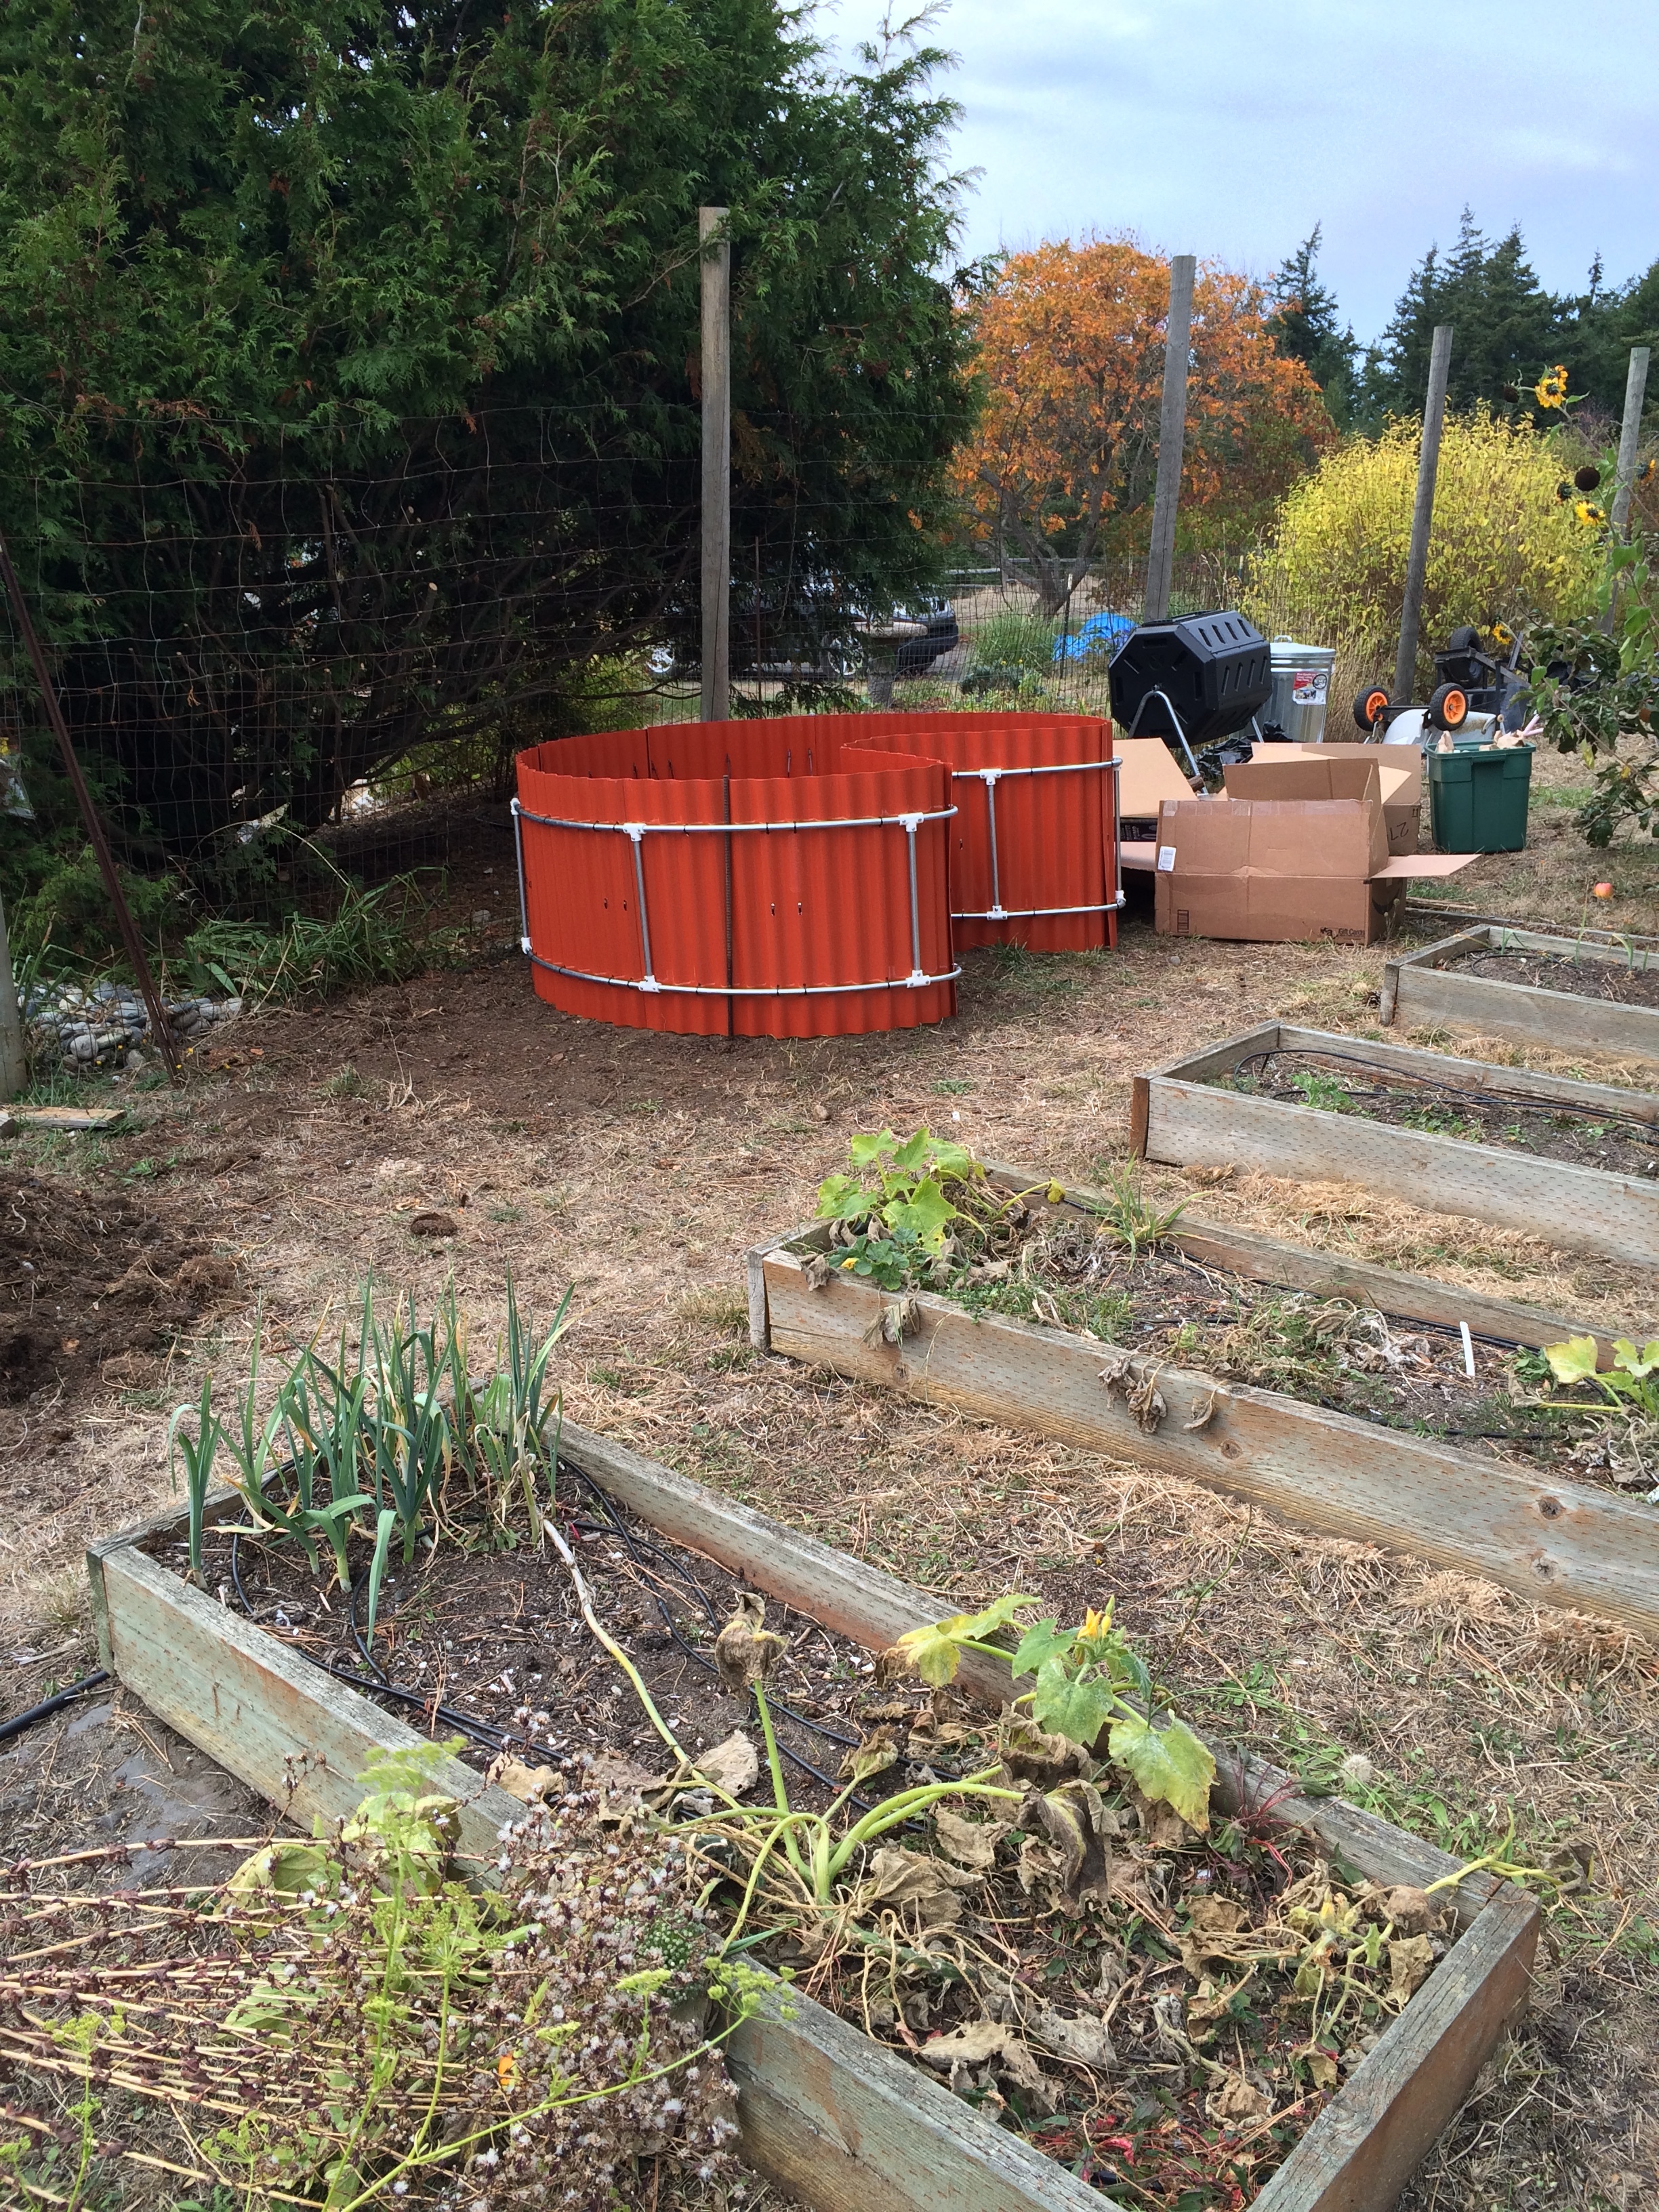
My able bodied assistant - Mosa Baczewska helped with the final assembly.

We rolled it into place where it will be shaded in the late afternoon - to protect it from the relentless south facing sun. The first garden will be for more tender plants like lettuce, tomatoes and peas.
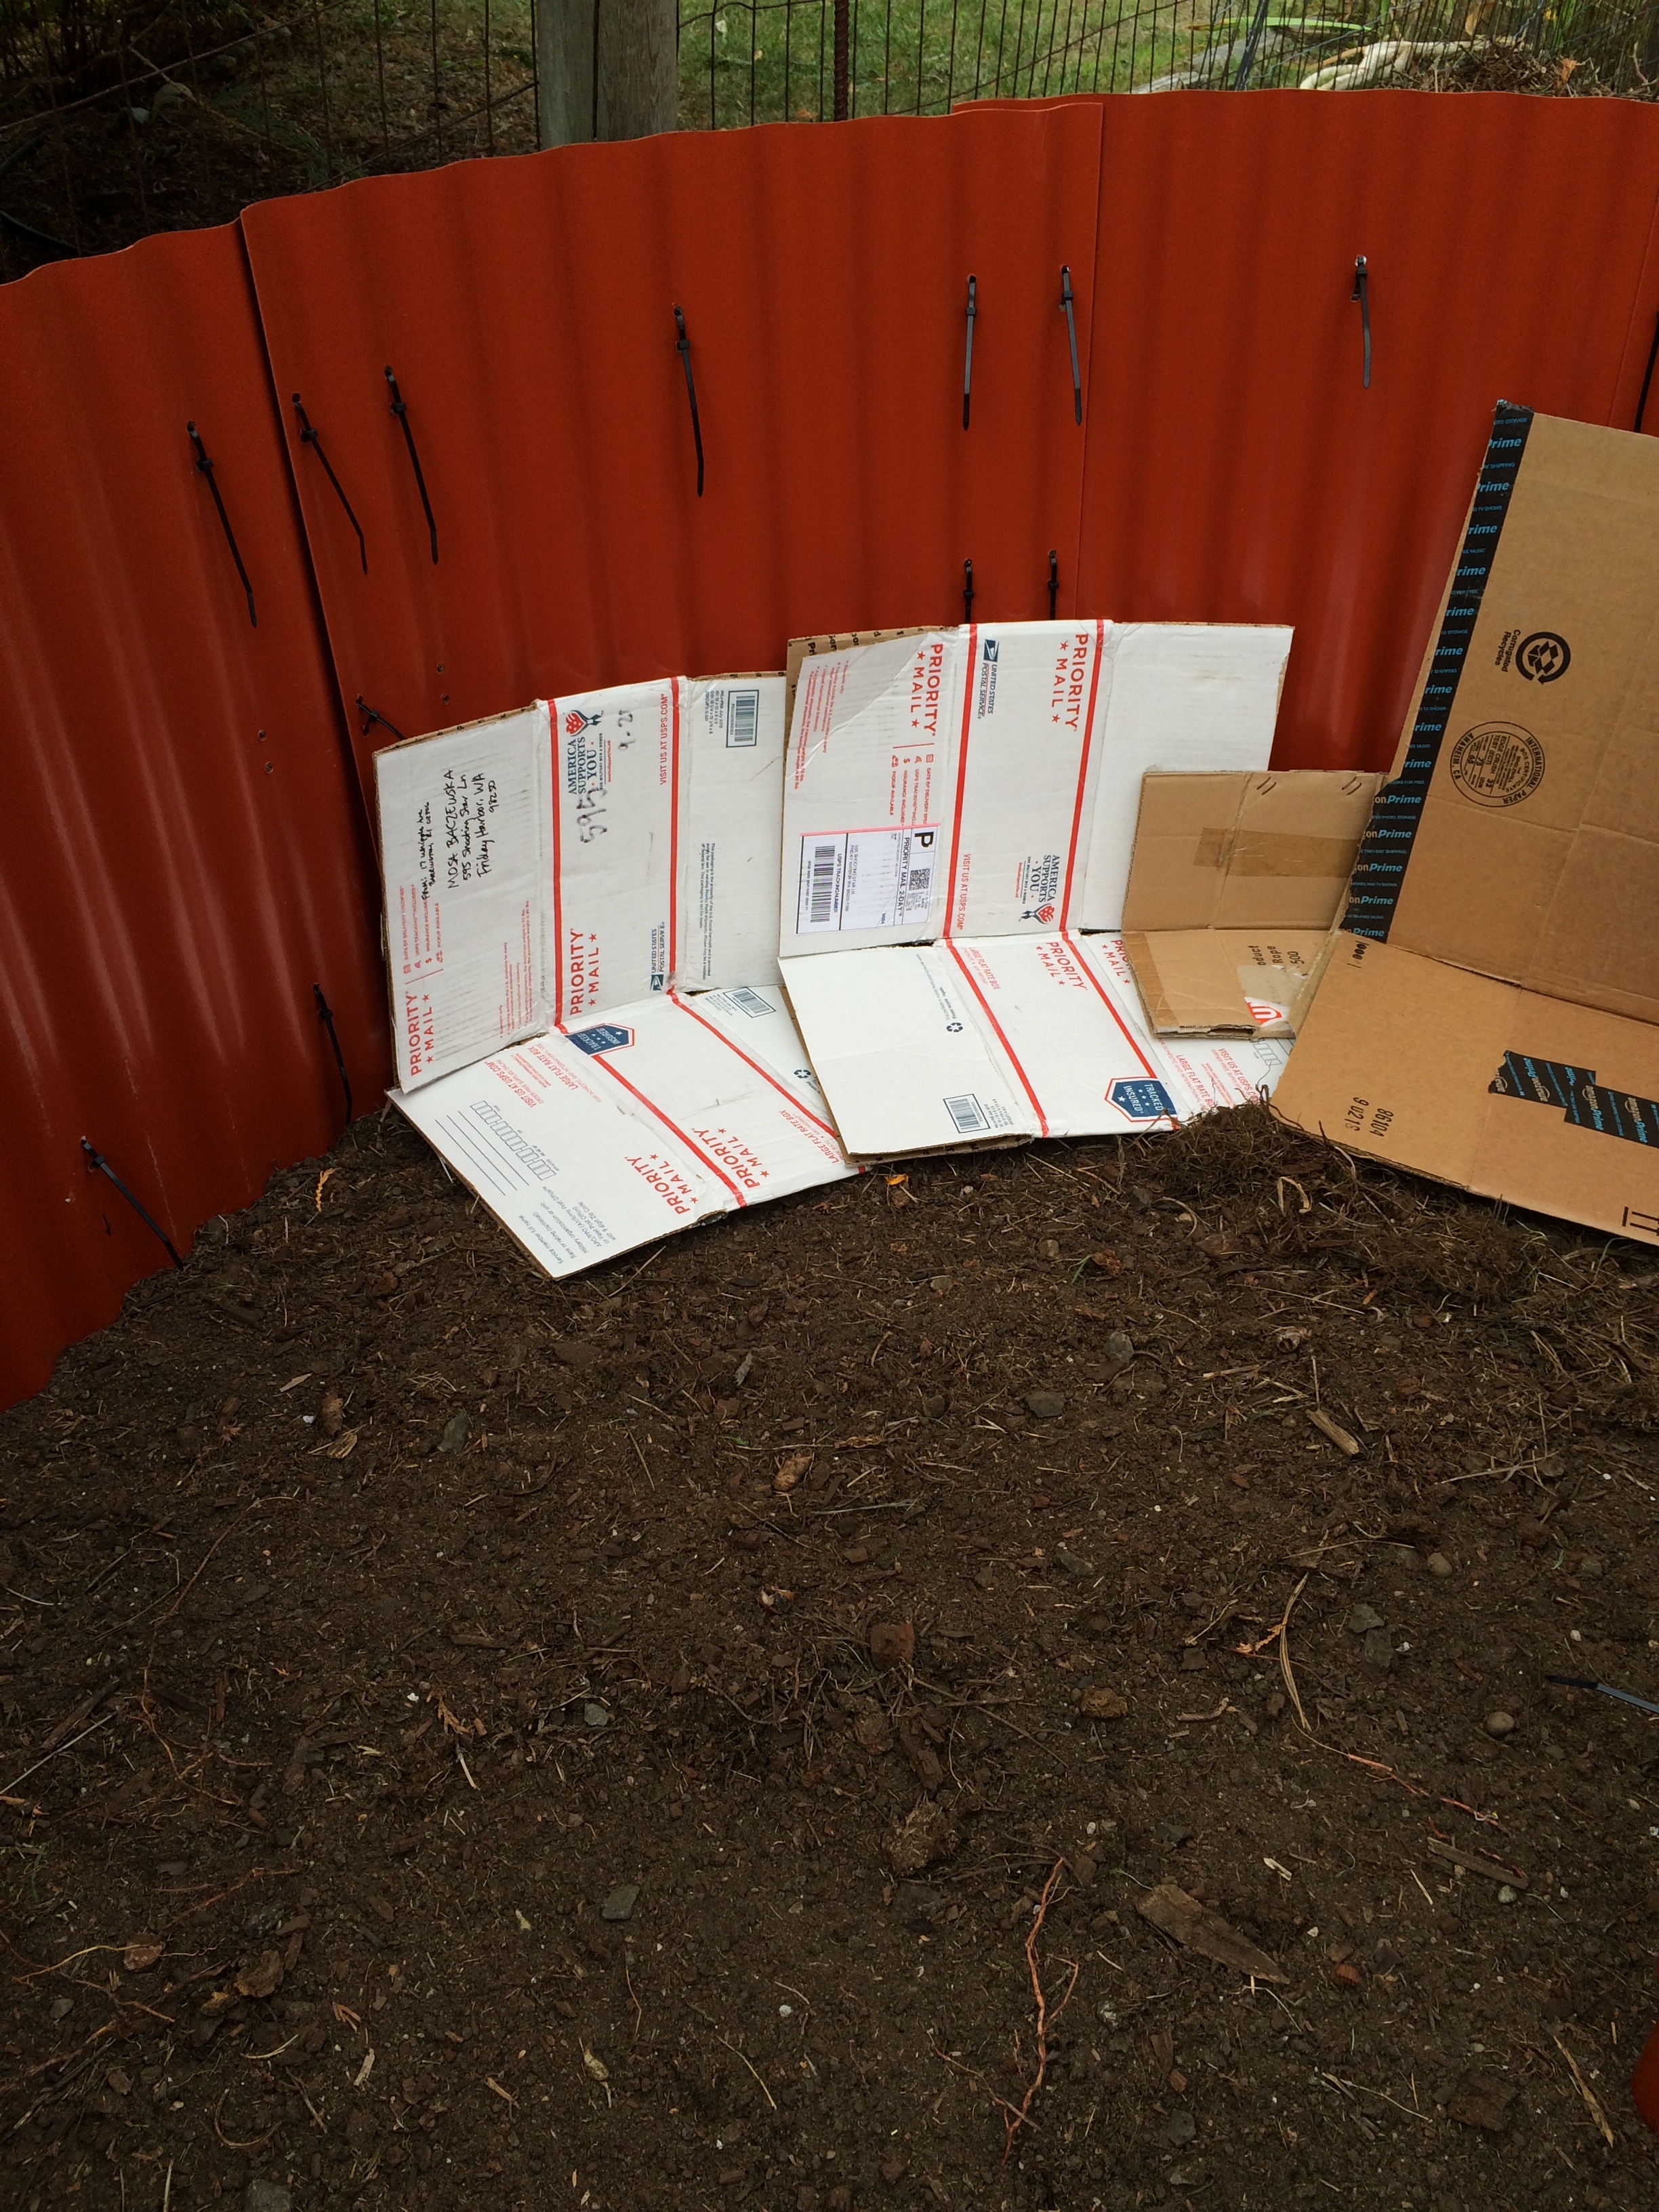
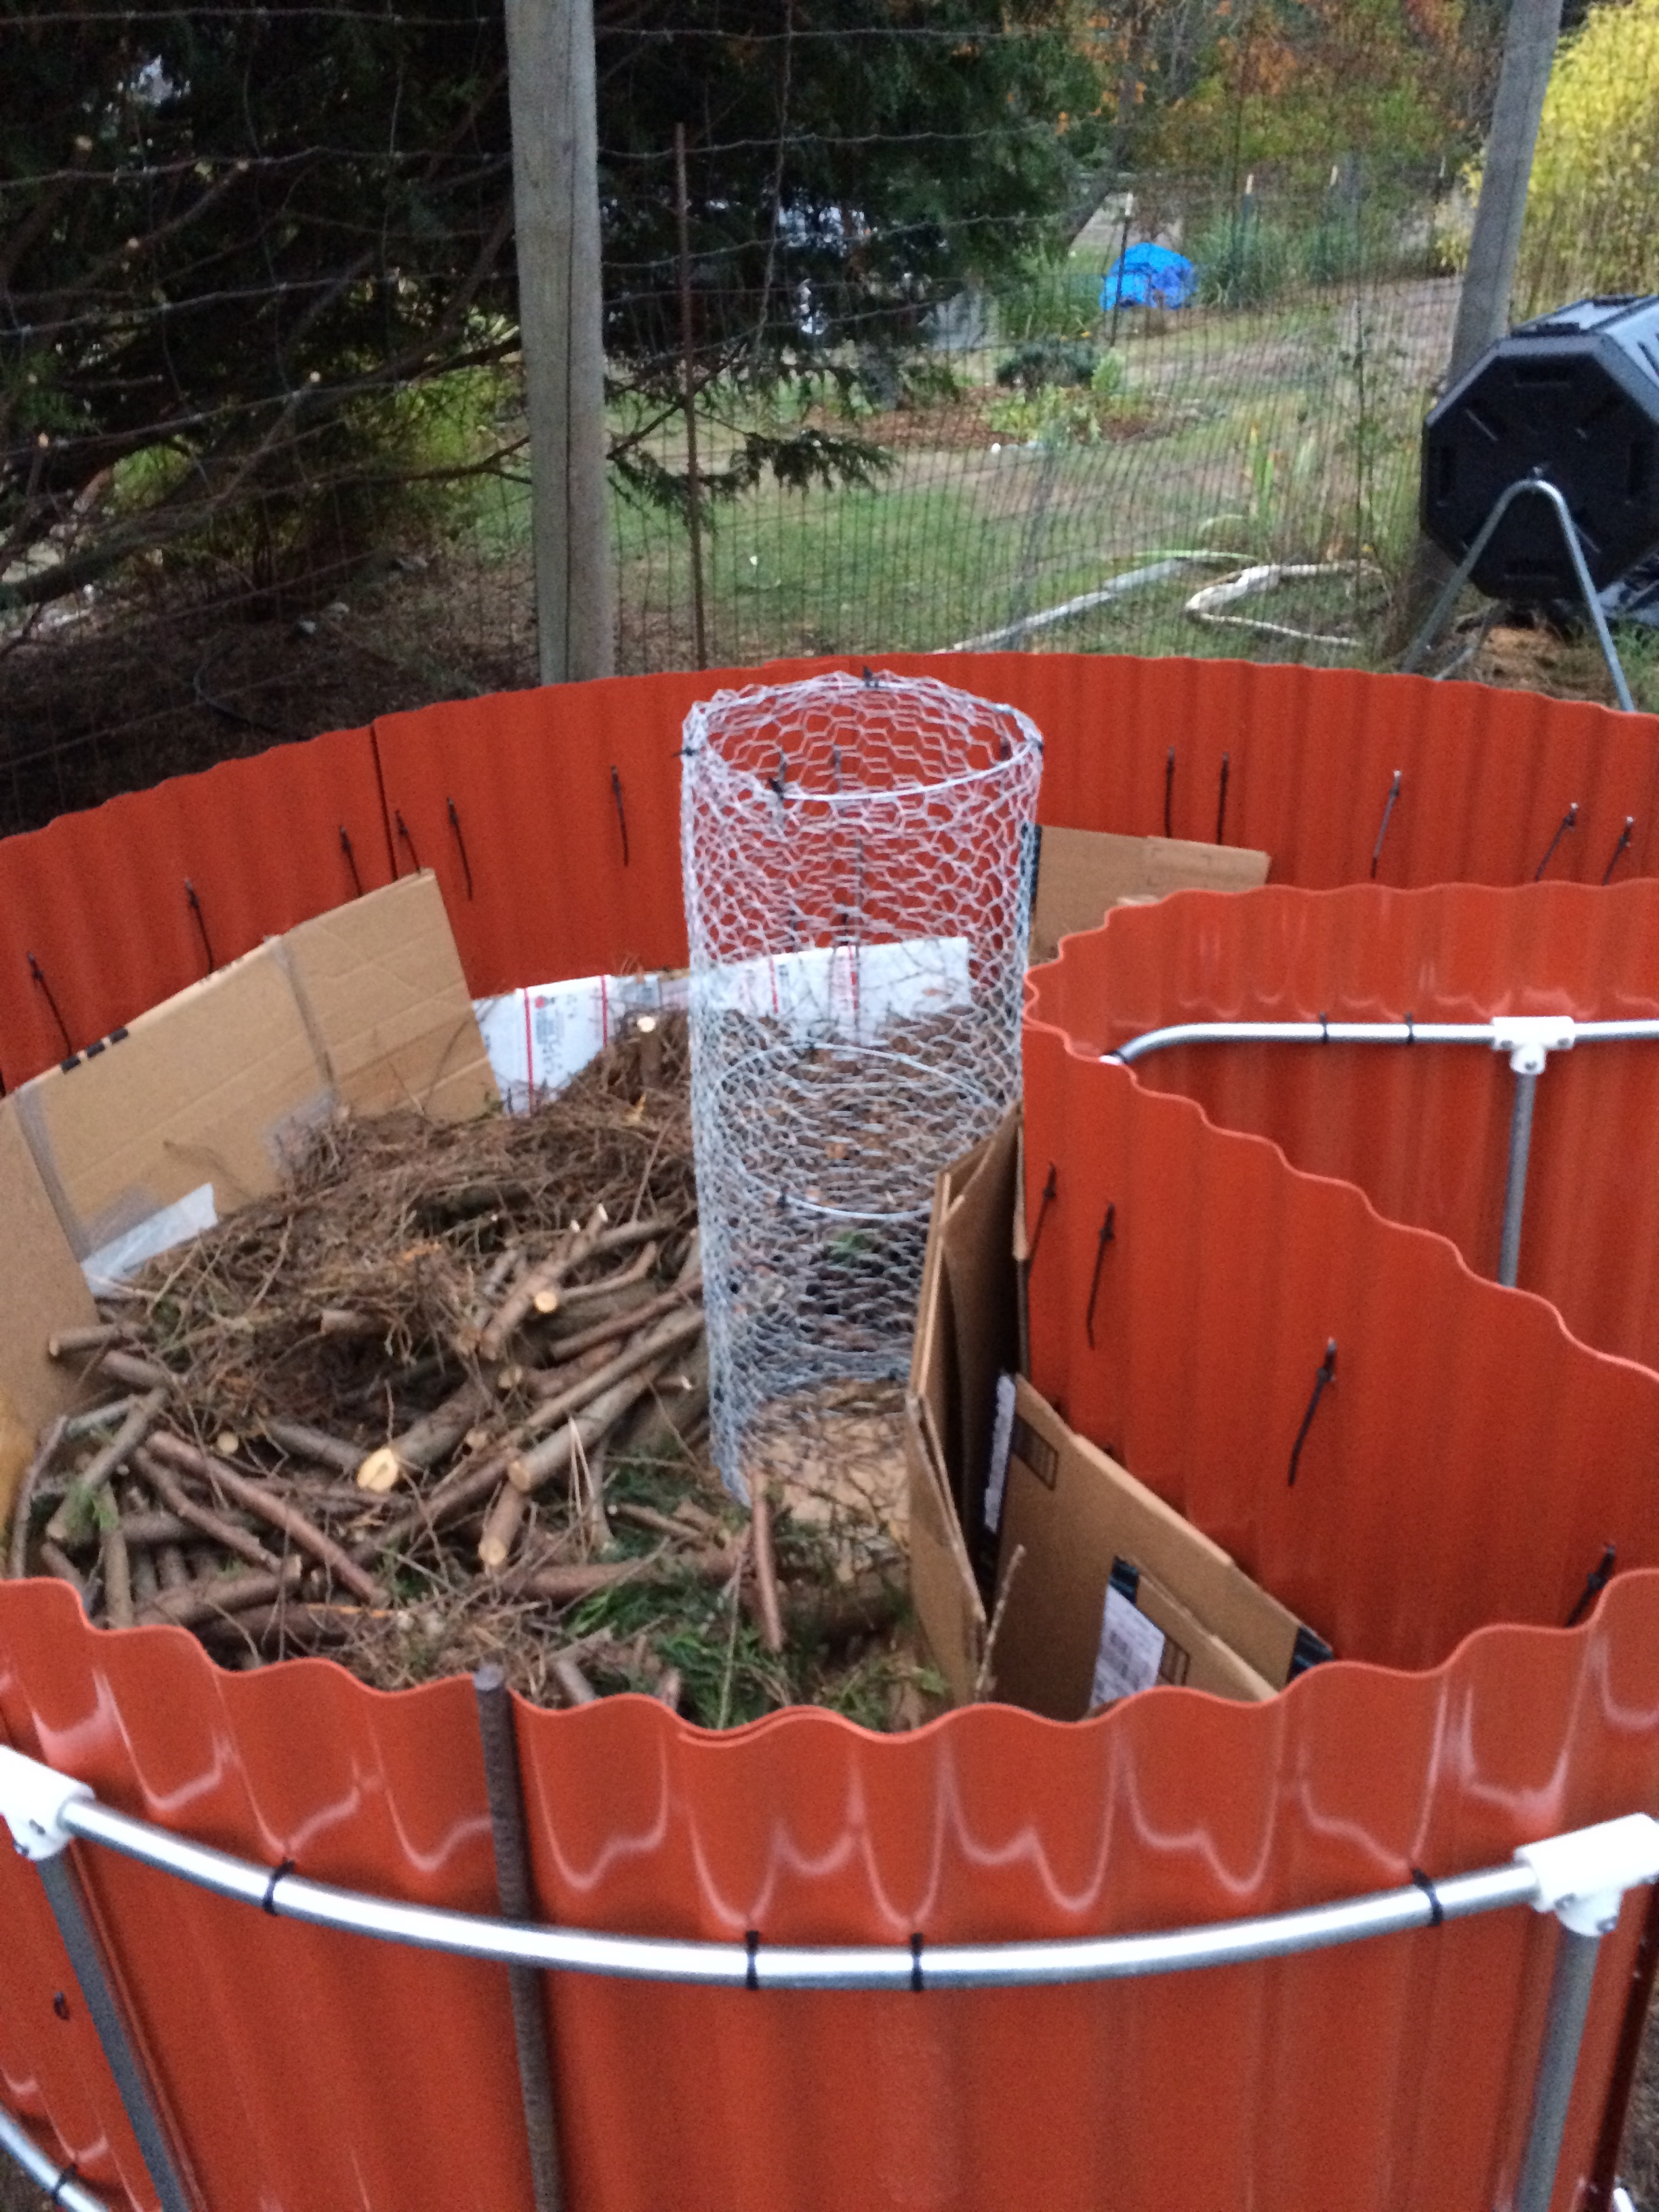
Let the layering begin. Because there is a lot of space to fill and all plant material will eventually break down, I used whatever was in my yard. Since it was already October, I didn’t have much green grass clippings or green anything….so I used manure and apples as my green layers. I watered in between each layer. Trying to keep roughly 3 layers of carbon rich brown to 1 layer of nitrogen rich green.....here are my layers so far: First layer is cardboard lining the sides and bottom.
Small branches from a pruned cedar tree were added to cover the floor. The wood will provide a good source of carbon over the years.

The branches were covered with dried grass and needles.

Whoops. I forgot to add the compost cage in the middle. I installed that and then continued layering brown and green.
newspaper and packing paper

steer manure - 3 bags

newspaper

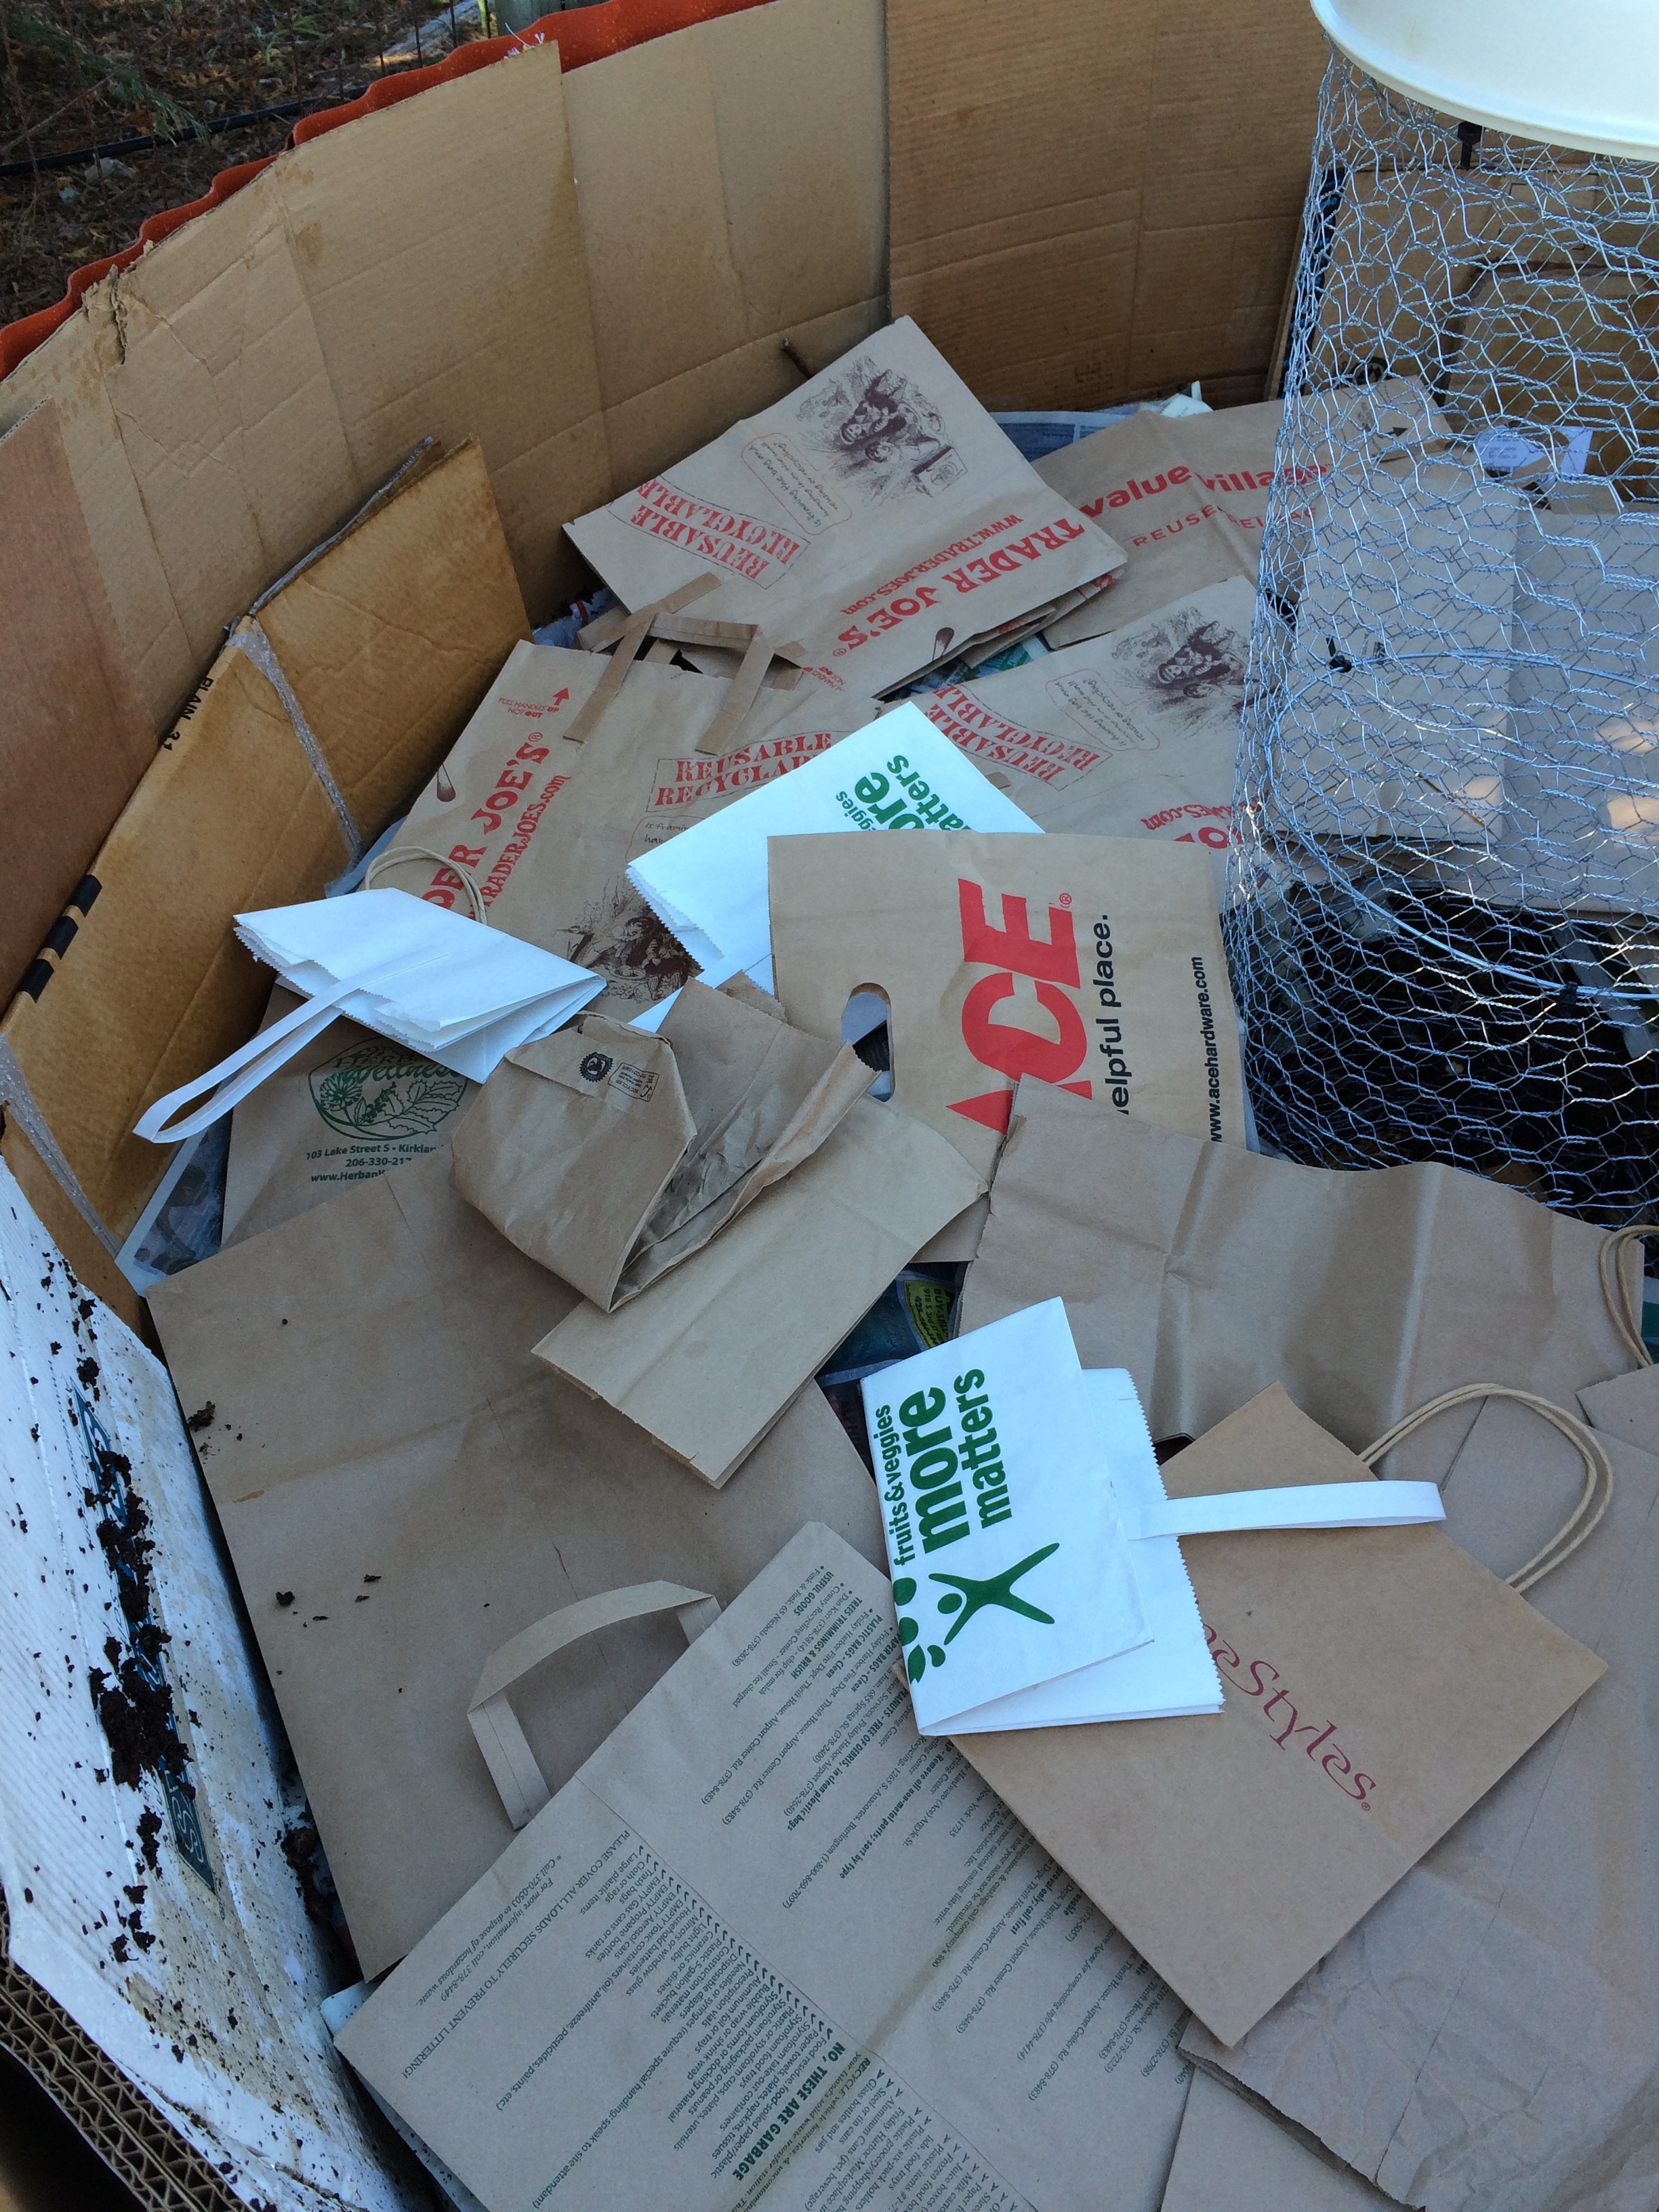
paper bags
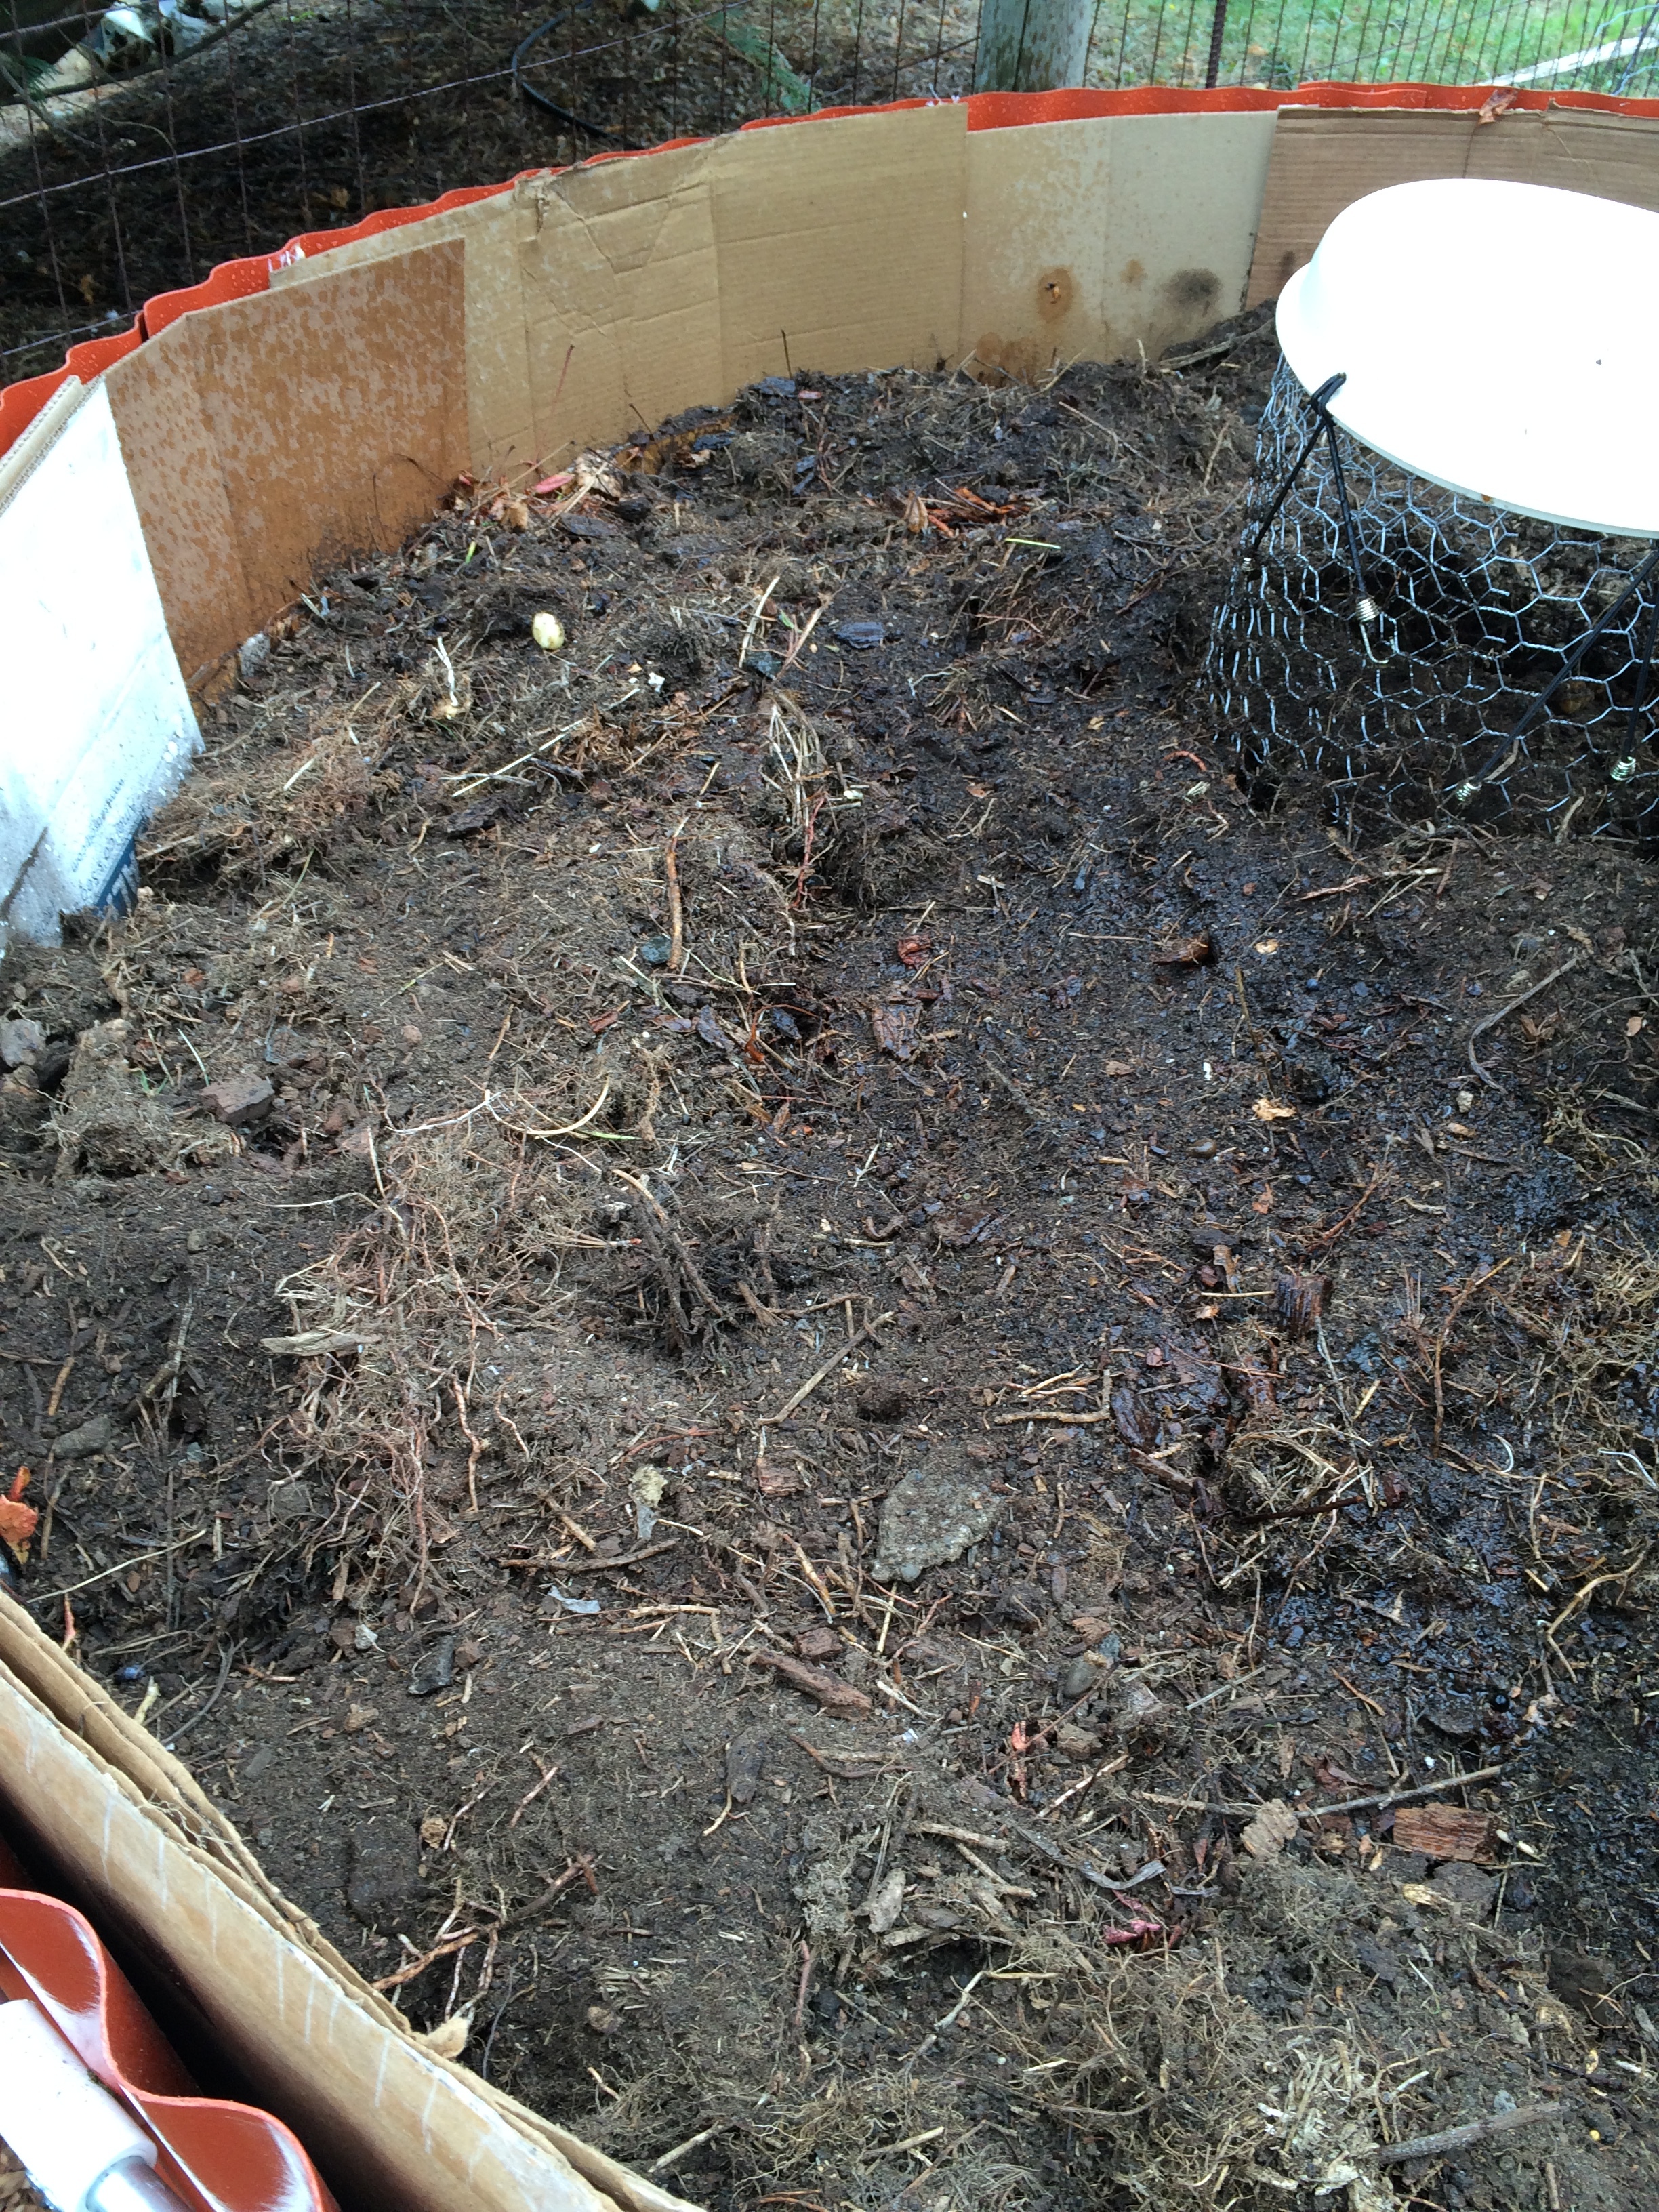
dirt - not particularly rich…but it will provide some bacteria

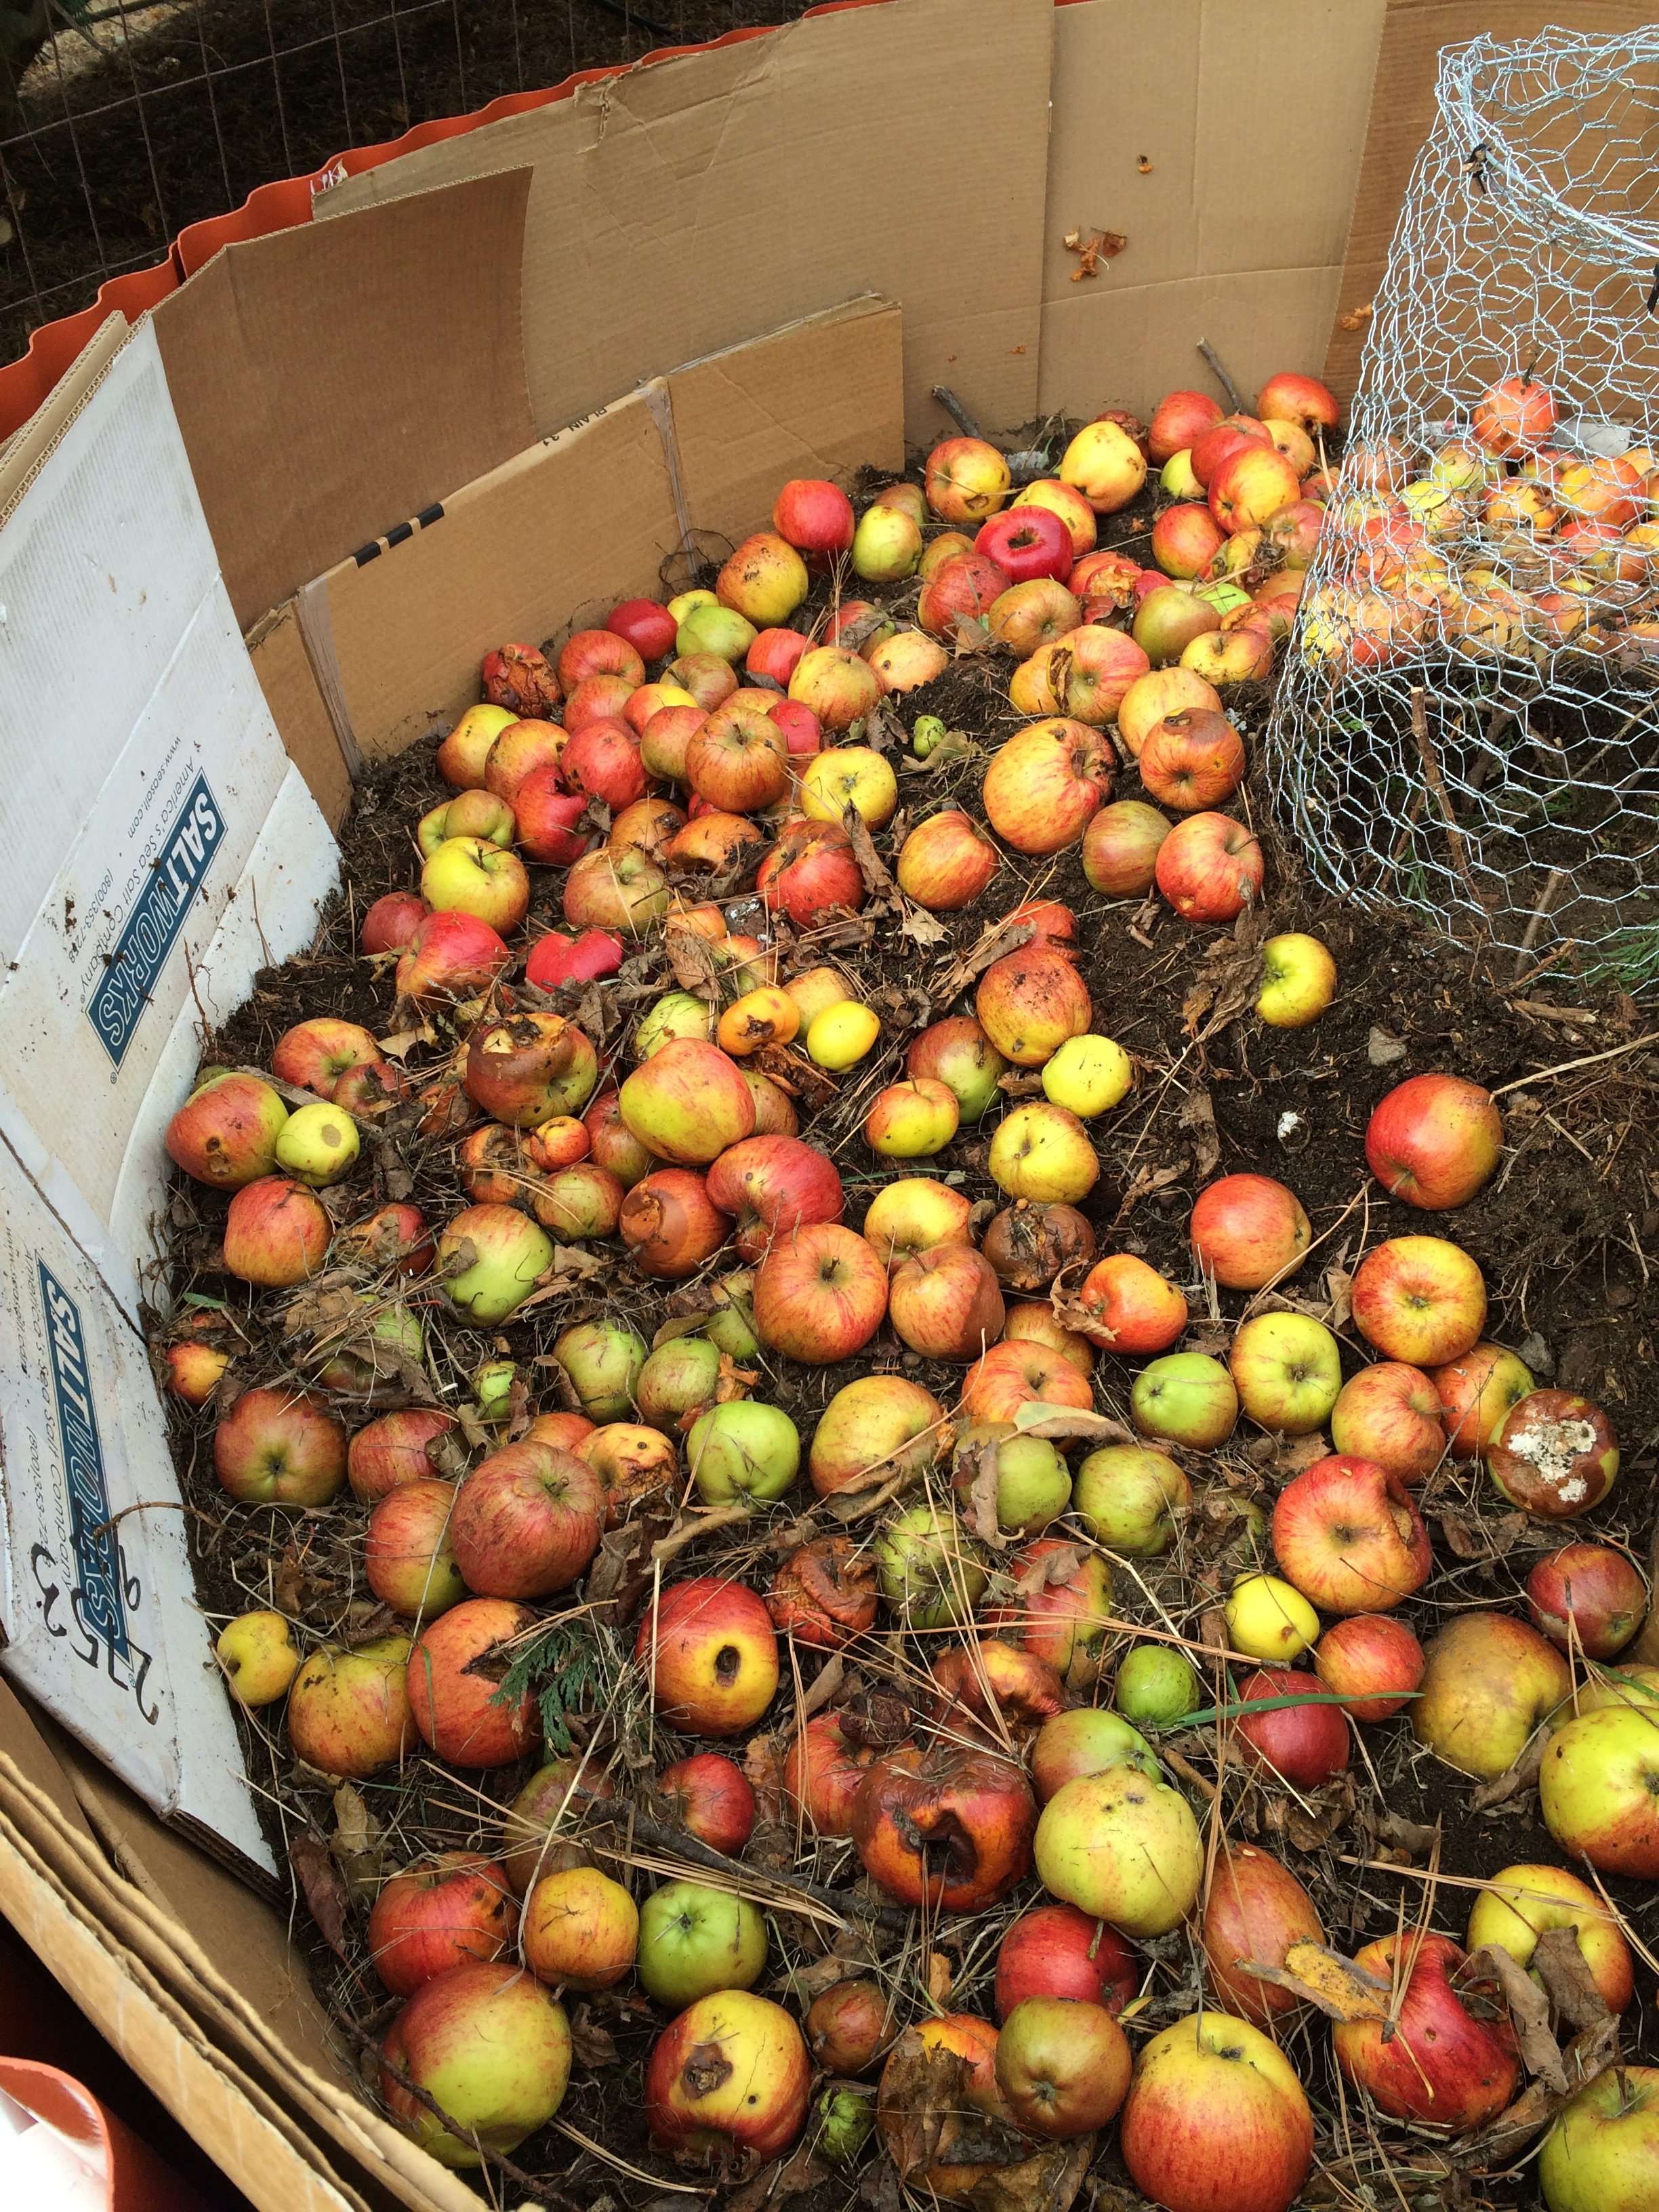
I had lots of apples on the ground so I threw them in as a green layer.
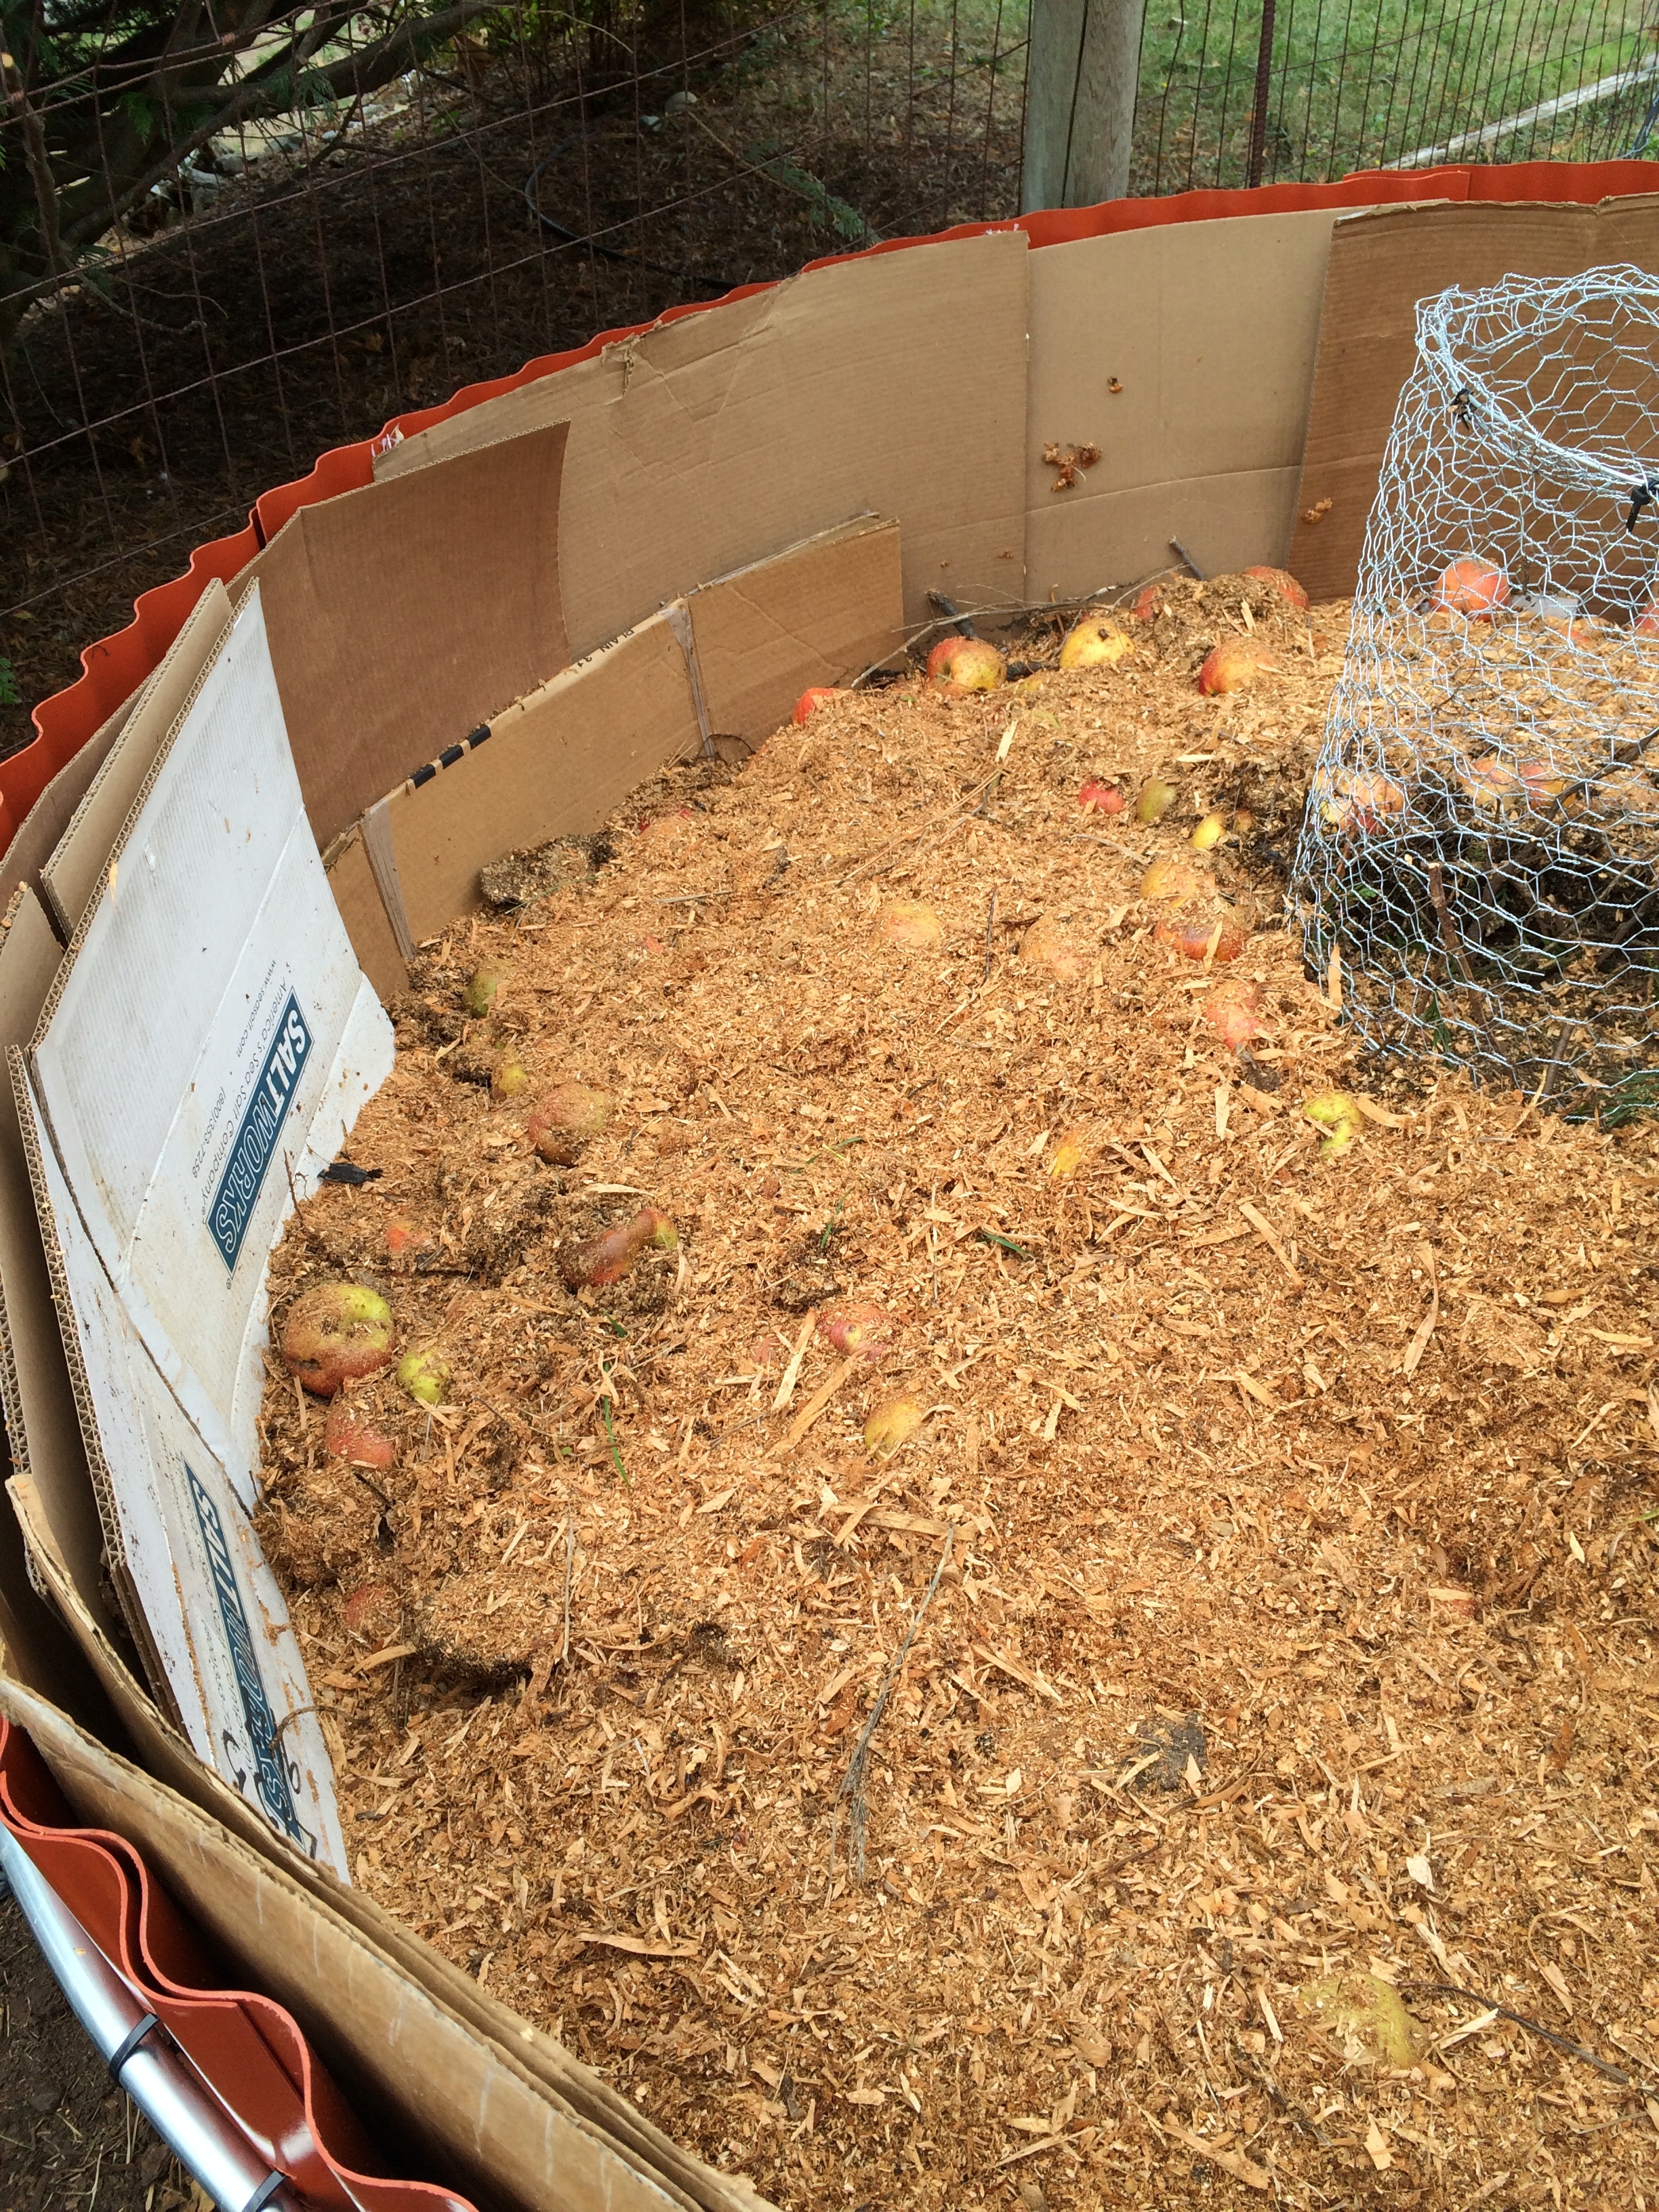
sawdust from our local island sawmill and coffee bean chaff from our local island coffee roaster
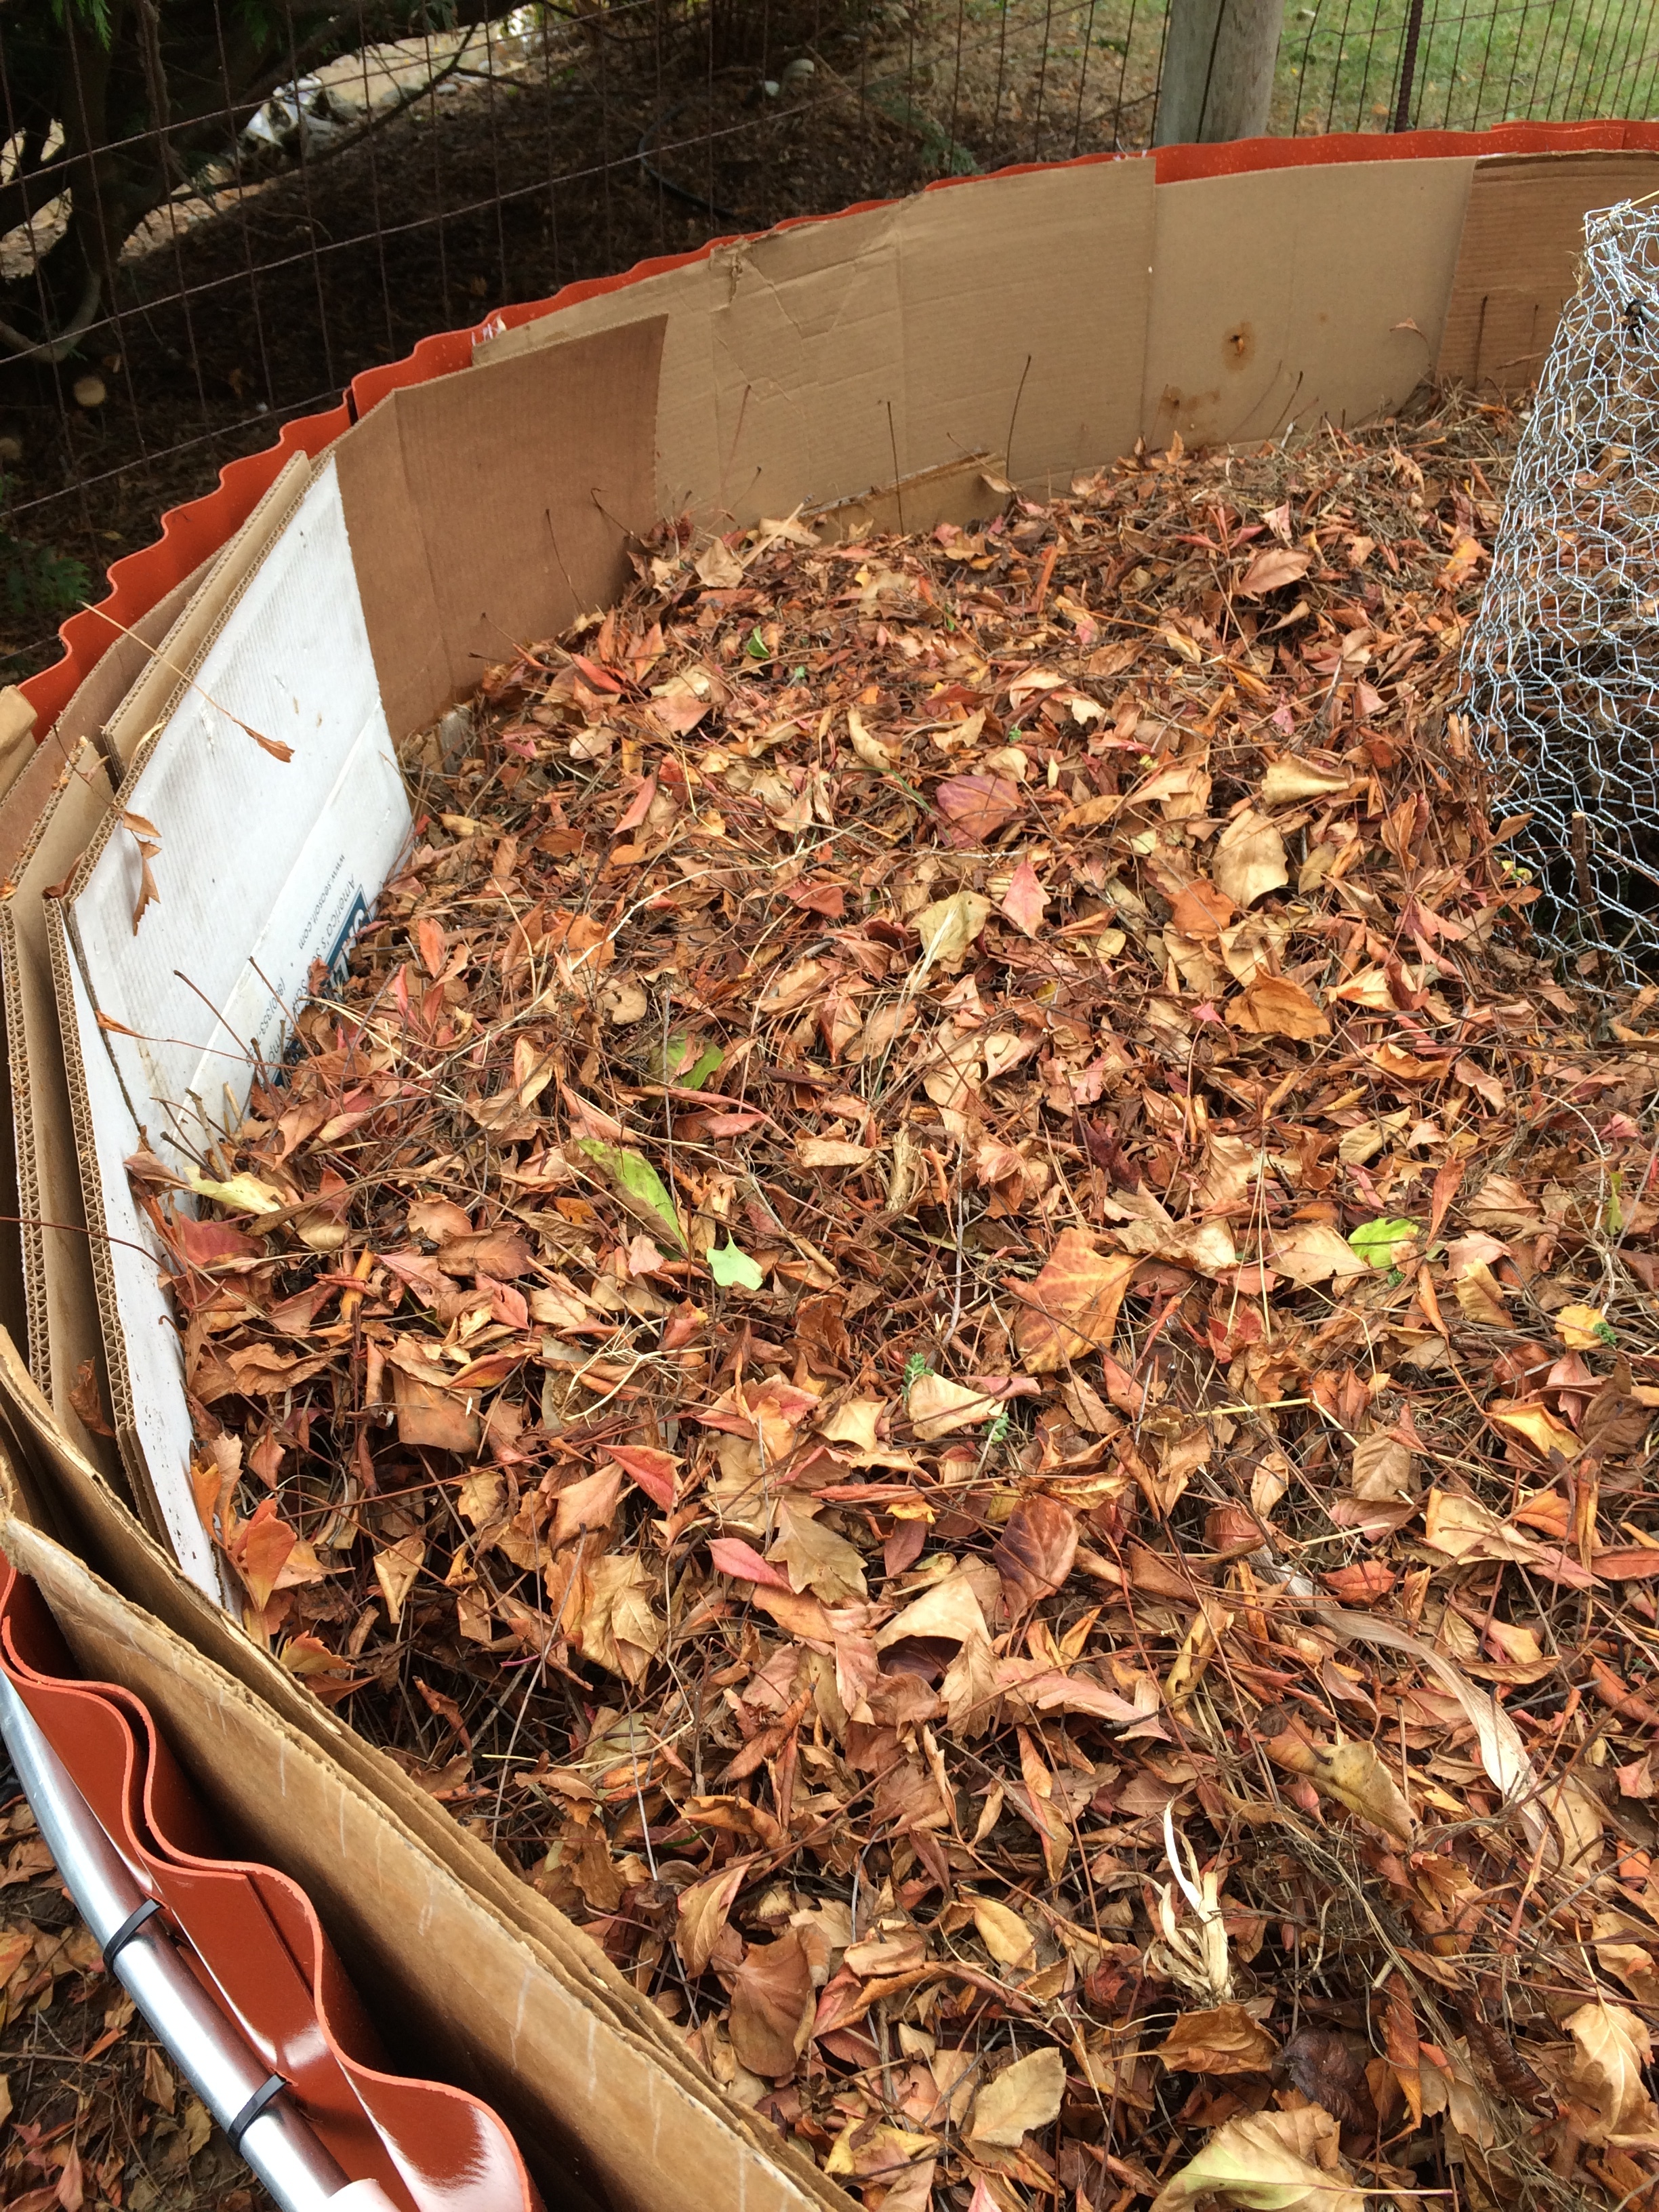
dried grass and leaves from my yard
more dirt
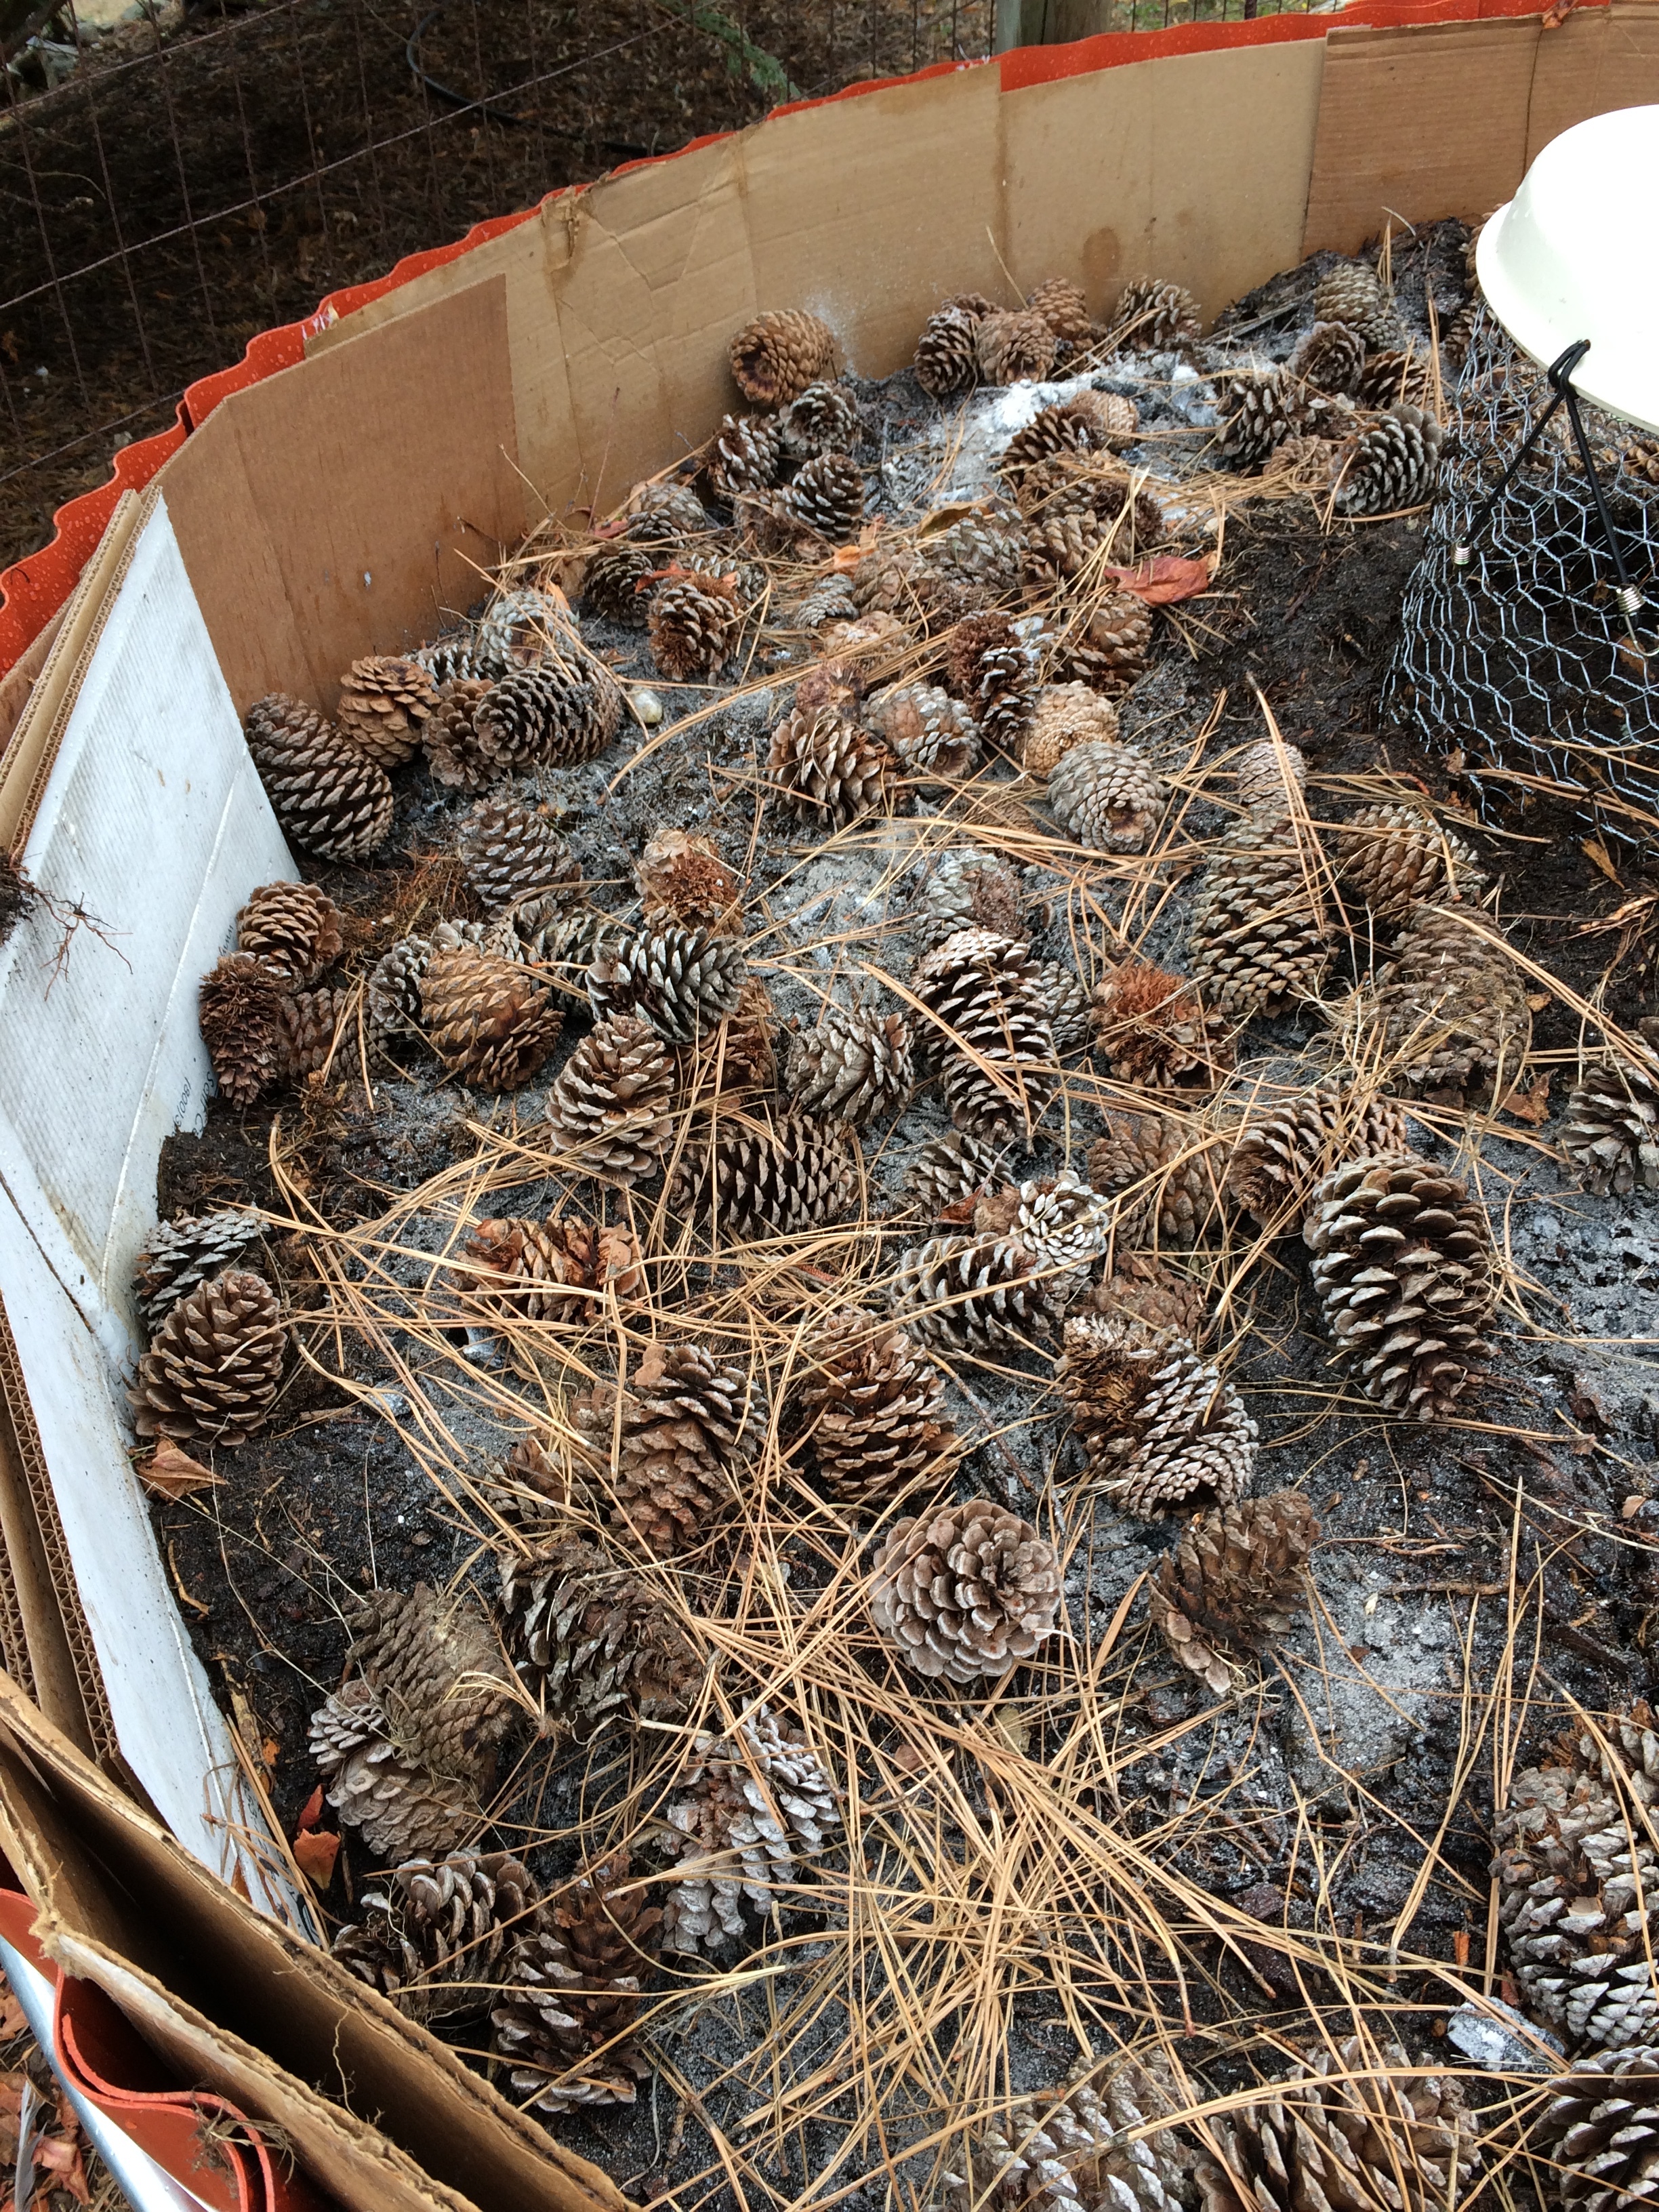
wood stove ash

pinecones
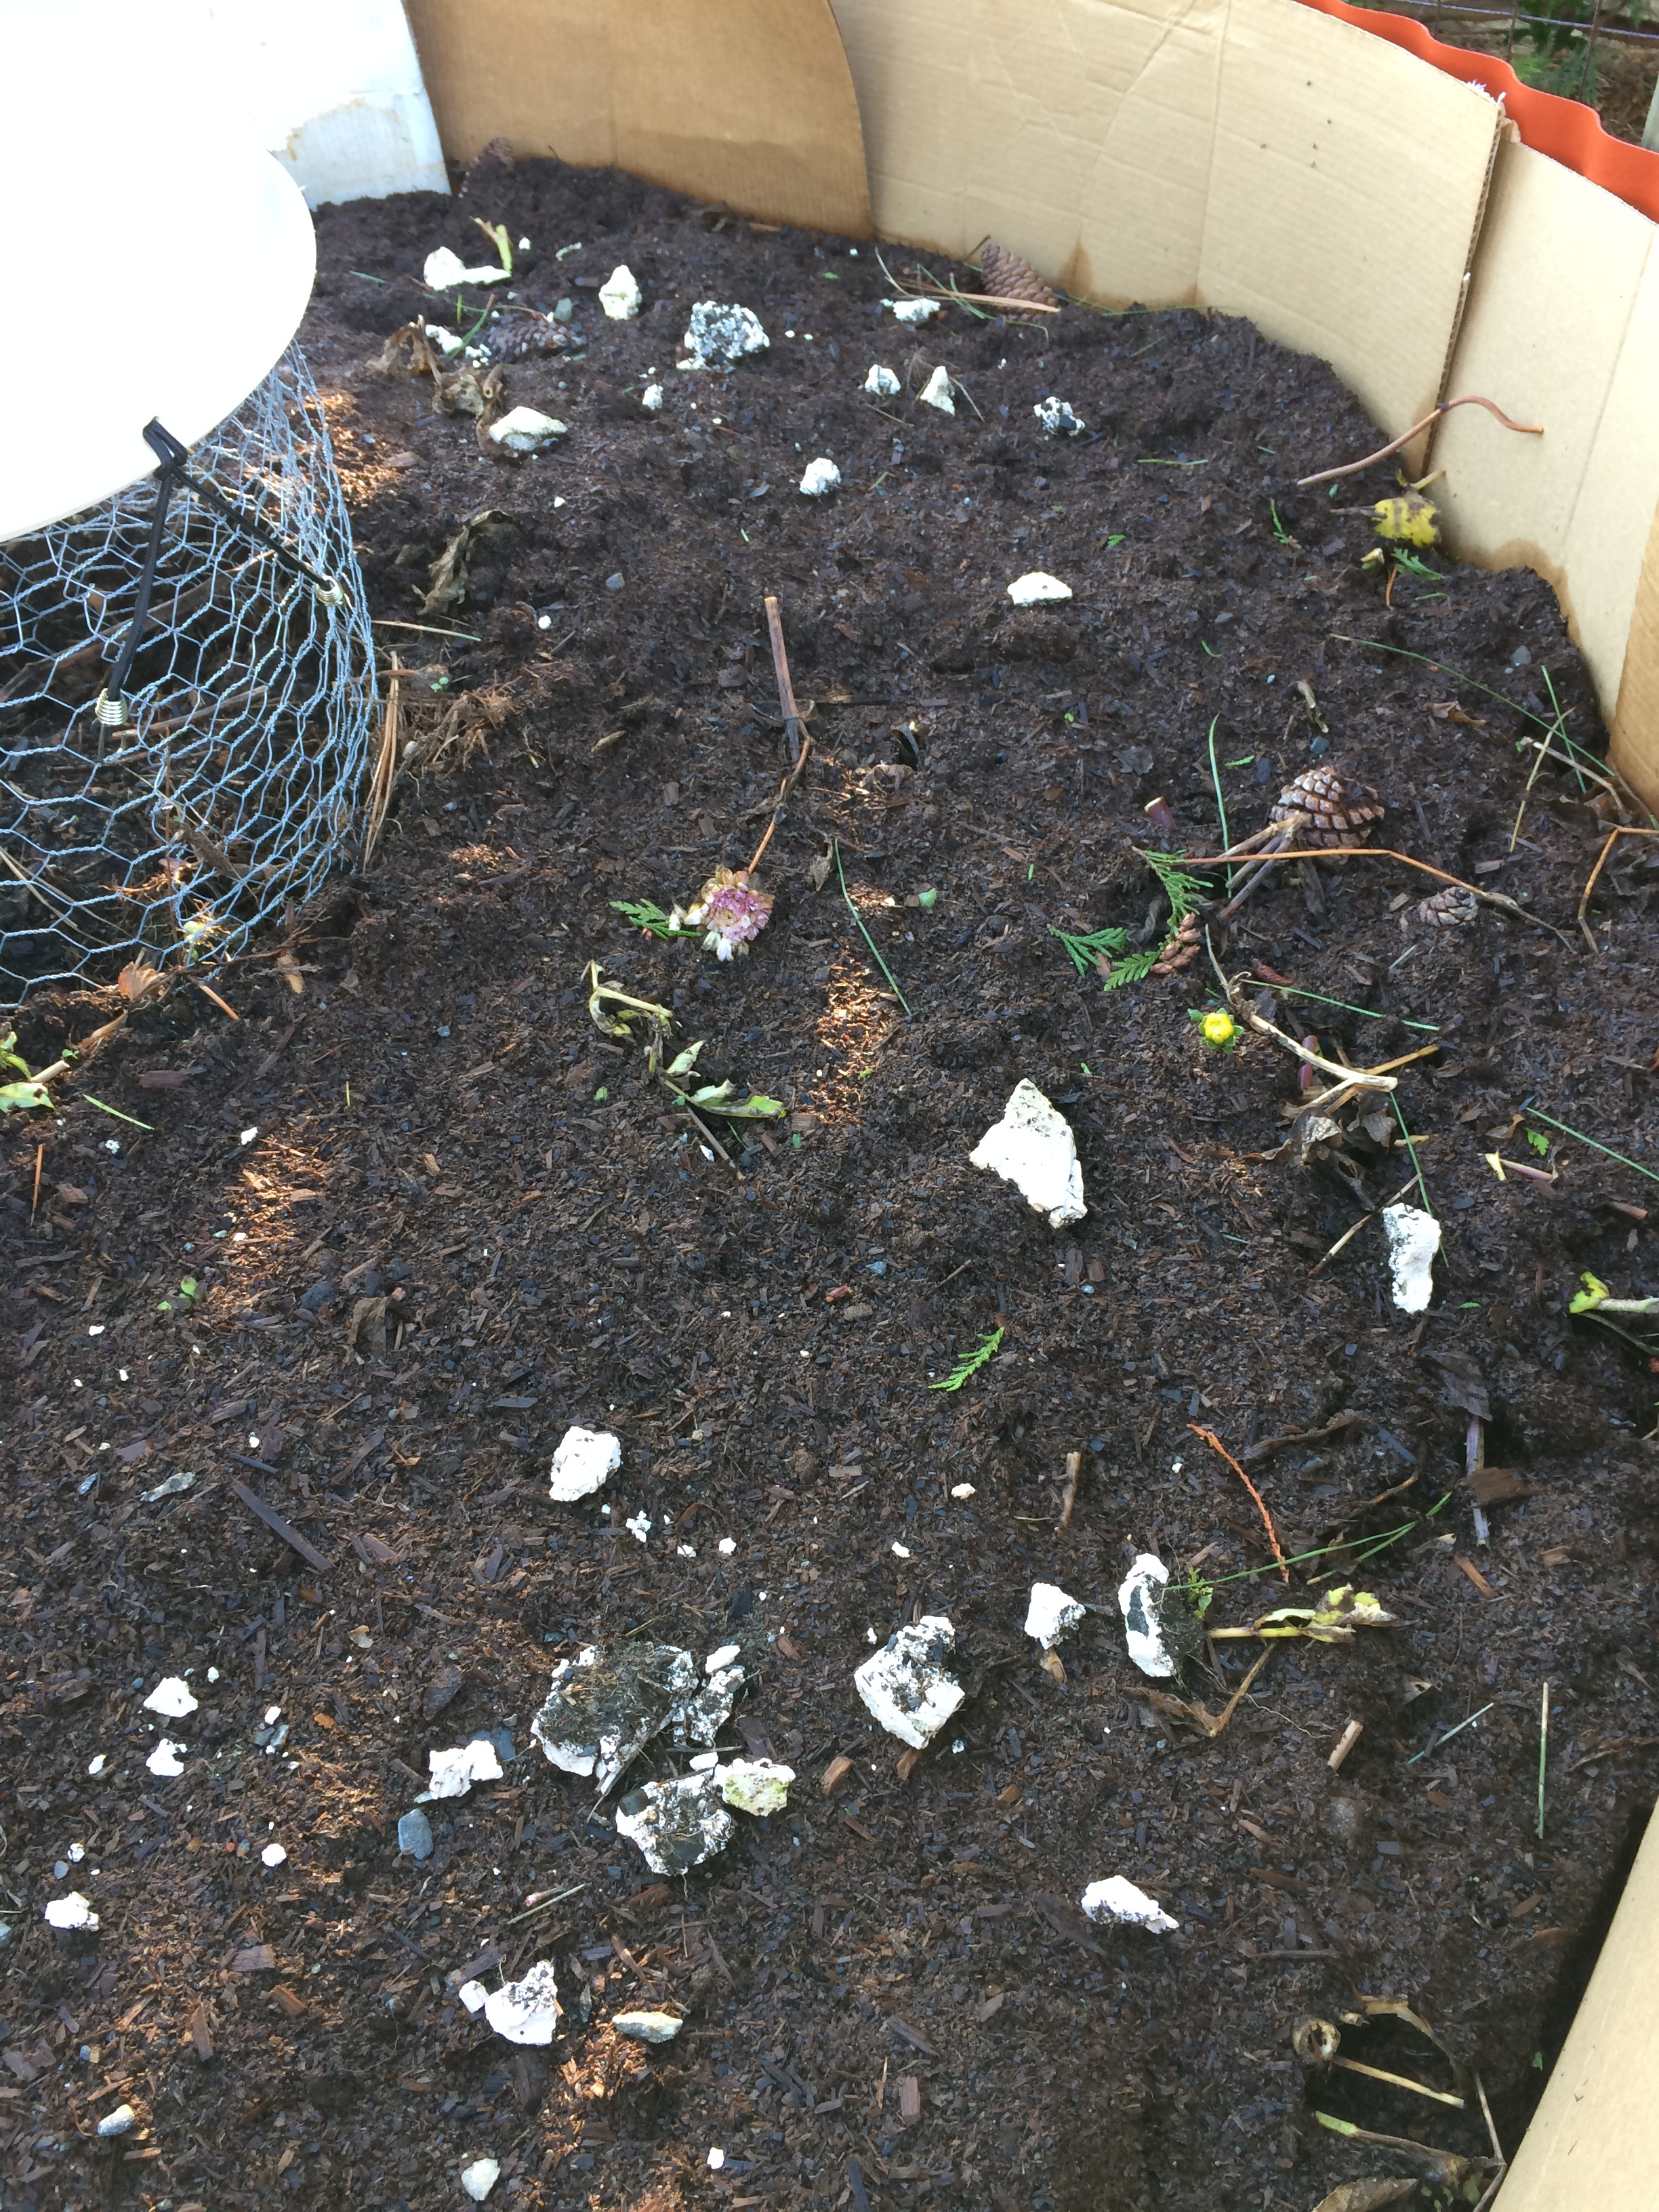
more dirt with plaster scraps from a ceramic mold I made. The plaster will provide calcium. I also added Epsom Salts for magnesium
In just a few weeks with the fall rains, the volume of the keyhole garden has gone done by almost half. I will continue adding layers until spring and then add 12 inches of topsoil and then plant. Fingers crossed for a bountiful harvest.